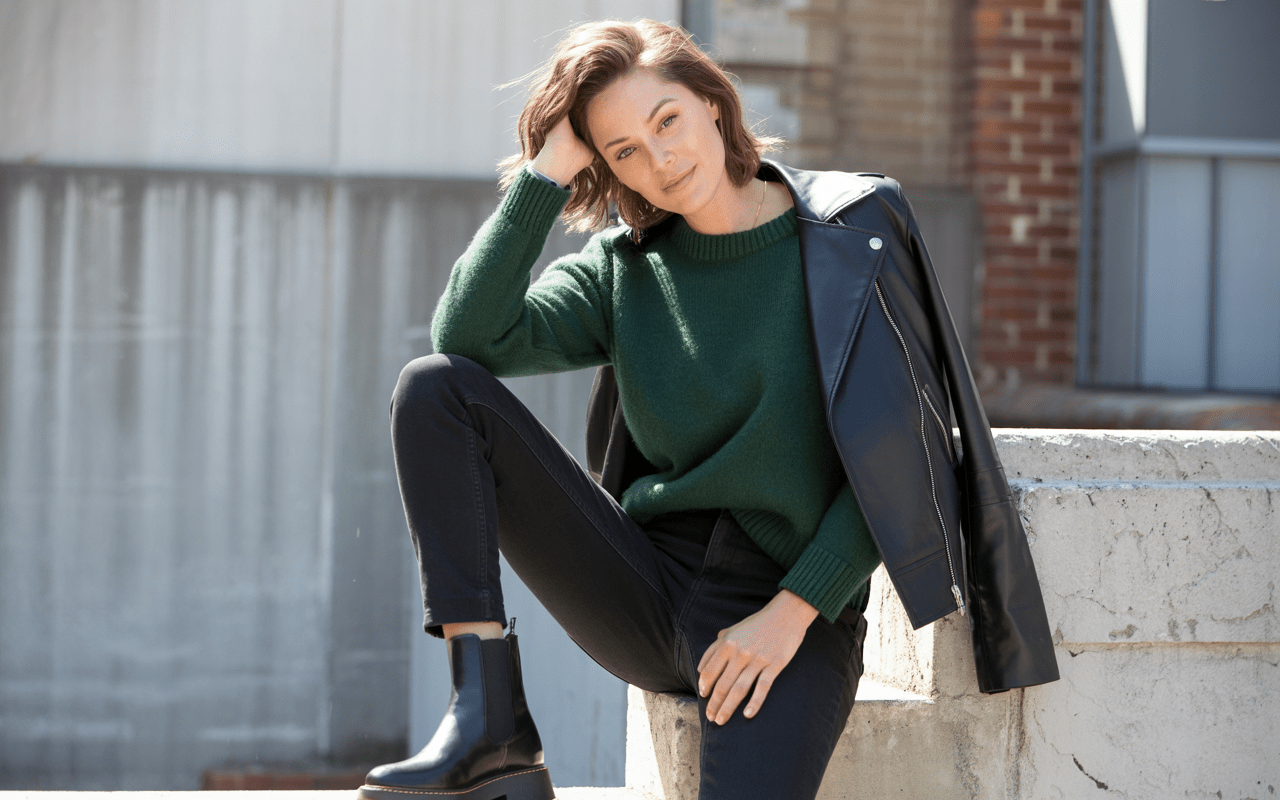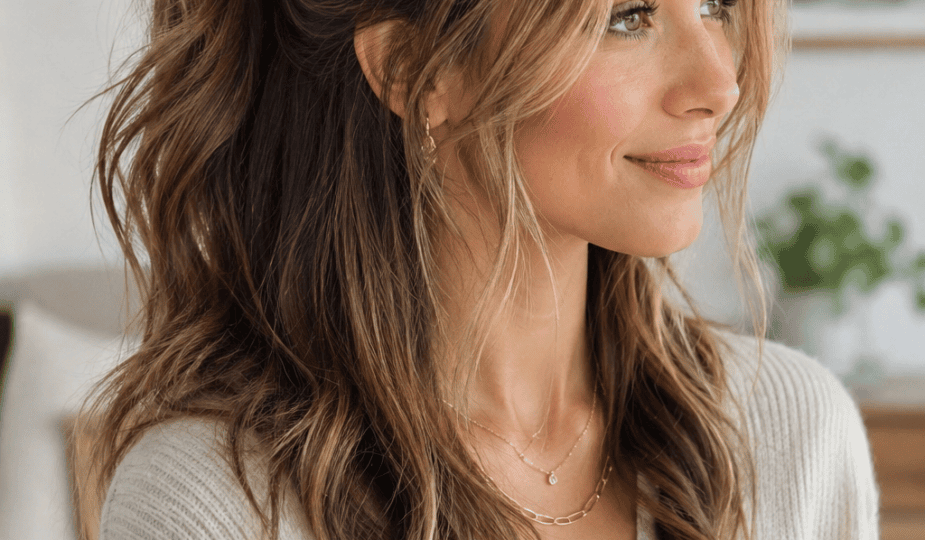
Let’s be honest: the ponytail has a reputation problem. Say the word “ponytail” and most people picture a rushed knot thrown together in the car, held by whatever hair tie survived the bottom of a bag. But that’s not what a ponytail actually has to be. IMO, the ponytail is one of the most underrated style moves out there—it just needs a little more intention than “grab and go.”
TBH, the difference between a “did you even try” ponytail and a “wait, how did you do that” ponytail usually comes down to three things: the base, the wrap, and the finish. Nail those, and suddenly you’ve got a hairstyle that reads editorial instead of emergency. So if you’ve been stuck in a rut with the same tight, flat pony every single day, this list is your reset button.
Below are 11 ponytail hairstyles that take the classic look from basic to genuinely polished—no salon appointment required.
1. The Sleek High Pony With a Wrapped Base
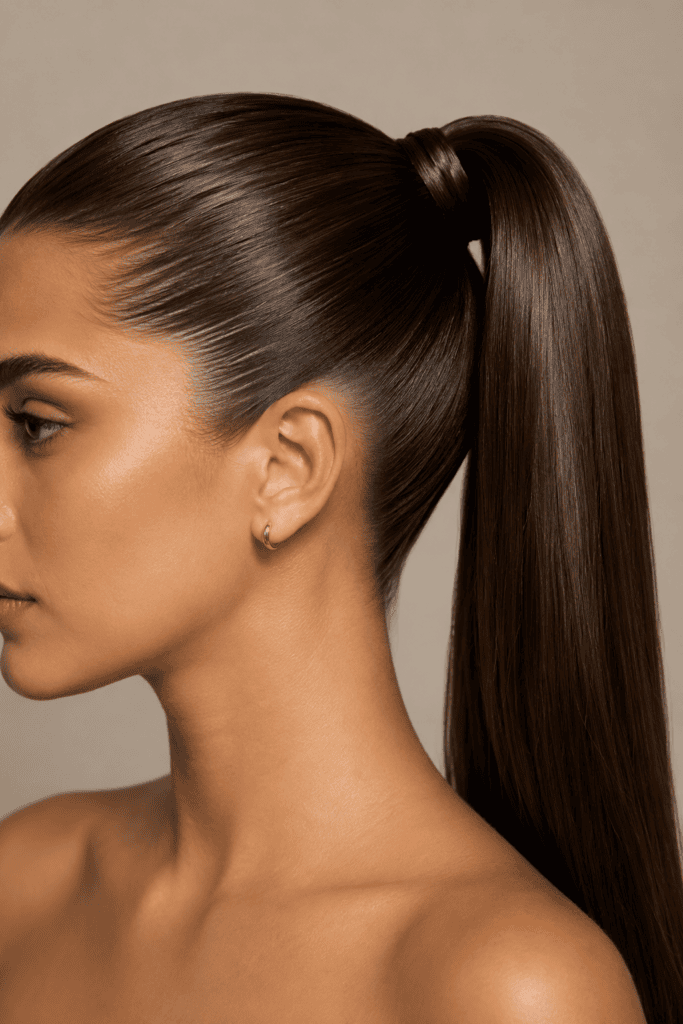
This is the ponytail that shows up in every “clean girl” aesthetic roundup, and there’s a reason it keeps circulating. A sleek high pony works because it treats the hair tie as a problem to solve, not an accessory to show off. Instead of leaving an elastic band visible, you wrap a one-inch section of your own hair around the base and pin it underneath.
Ever notice how the celebrity version of this look never seems to have flyaways? That’s gel, not magic. A strong-hold gel applied to damp hair, brushed back with a fine-tooth comb, gives you that glass-like finish.
Key elements to get right:
- Apply gel evenly through the front section before brushing back
- Use a boar-bristle brush to smooth, not just a comb
- Wrap the base with a one-inch section of hair, not a bulky chunk
- Set the front hairline with hairspray on a toothbrush for baby-hair control
2. The Bubble Ponytail
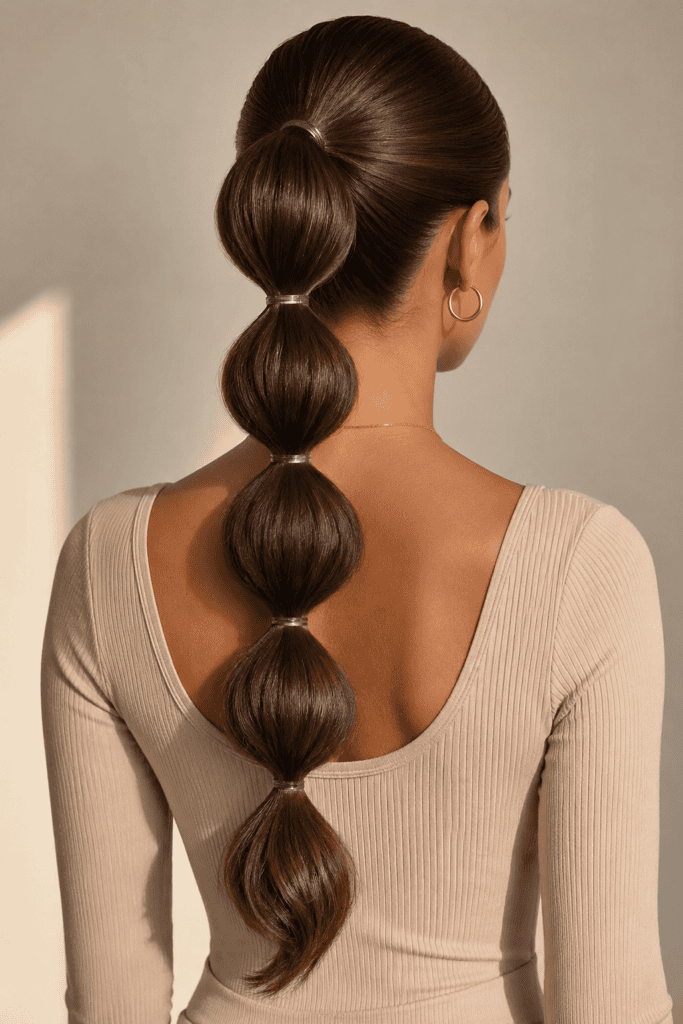
The bubble ponytail turns one hair tie into five, and somehow that’s the whole trick. You section the ponytail into even parts, secure each with a small elastic, then gently pull the hair between each section outward to create rounded “bubbles.”
Who said texture had to come from waves or curls? This style creates dimension using structure alone. The bubble ponytail photographs incredibly well because the shape catches light differently at every segment—it’s basically built-in visual interest.
How to space the bubbles:
- Keep segments 2–3 inches apart for a proportional look
- Use clear elastics so the sectioning doesn’t look choppy
- Pull hair outward from the top of each bubble, not the bottom
- Finish with light shine spray to keep each bubble looking smooth, not fuzzy
3. The Low Twisted Pony
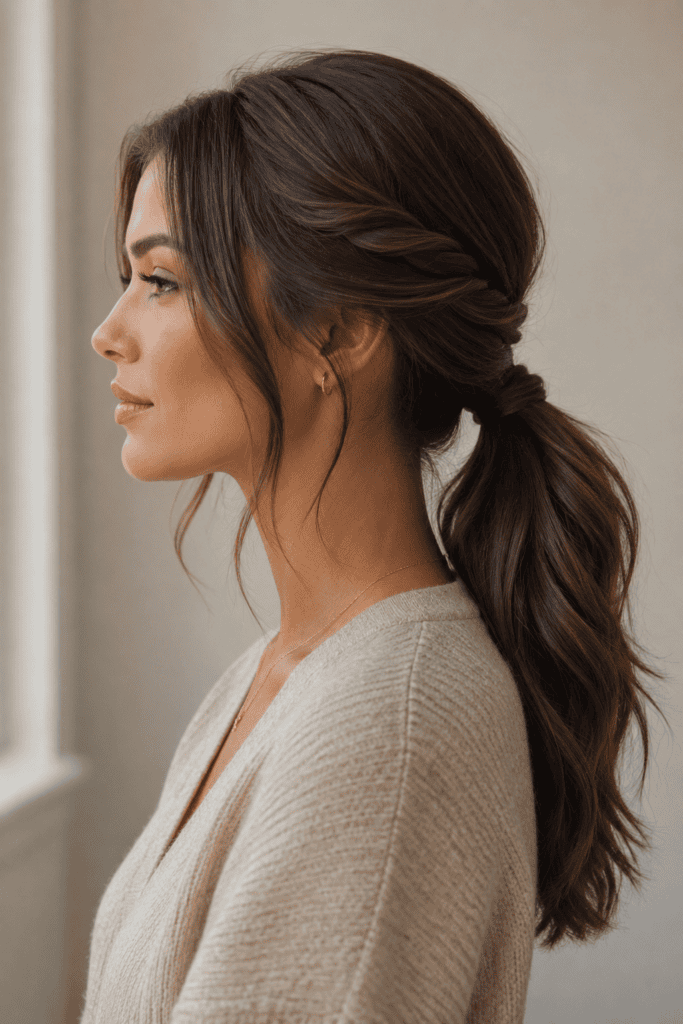
A low ponytail is often treated as the “safe” option, and IMO that’s exactly why it needs a twist—literally. Instead of pulling hair straight back, twist two sections before securing them at the nape of the neck. It reads sophisticated without trying too hard.
This one is a favorite for anyone who wants something that looks intentional for an office setting but doesn’t take fifteen extra minutes. A twisted low pony works with straight, wavy, or slightly curly textures, which makes it one of the more versatile options on this list.
Styling notes:
- Twist in the same direction on both sides for symmetry
- Secure with a low elastic positioned just above the nape
- Leave a few face-framing pieces loose for softness
- Finish with a light-hold spray rather than anything stiff
4. The Half-Up Ponytail With Volume
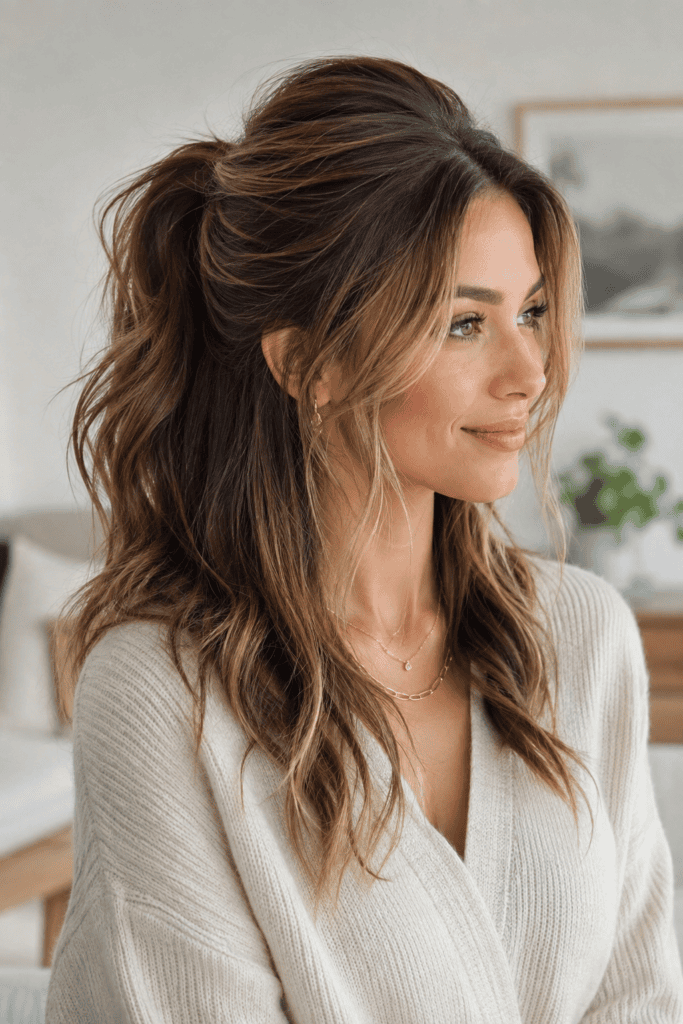
Why does the half-up ponytail keep coming back every season? Because it solves the “I want my hair down but also out of my face” dilemma better than almost anything else. The trick to making it look polished rather than lazy is volume at the crown.
Backcombing the crown section before pulling hair into the half-up pony creates lift that lasts through the day. Skip this step, and the style tends to fall flat within an hour—literally.
Steps for lasting volume:
- Section the top third of your hair from ear to ear
- Backcomb gently at the roots with a fine-tooth comb
- Smooth the very top layer over the backcombed section
- Secure with an elastic, then pull a small piece over to hide it
5. The Braided Wrap Ponytail
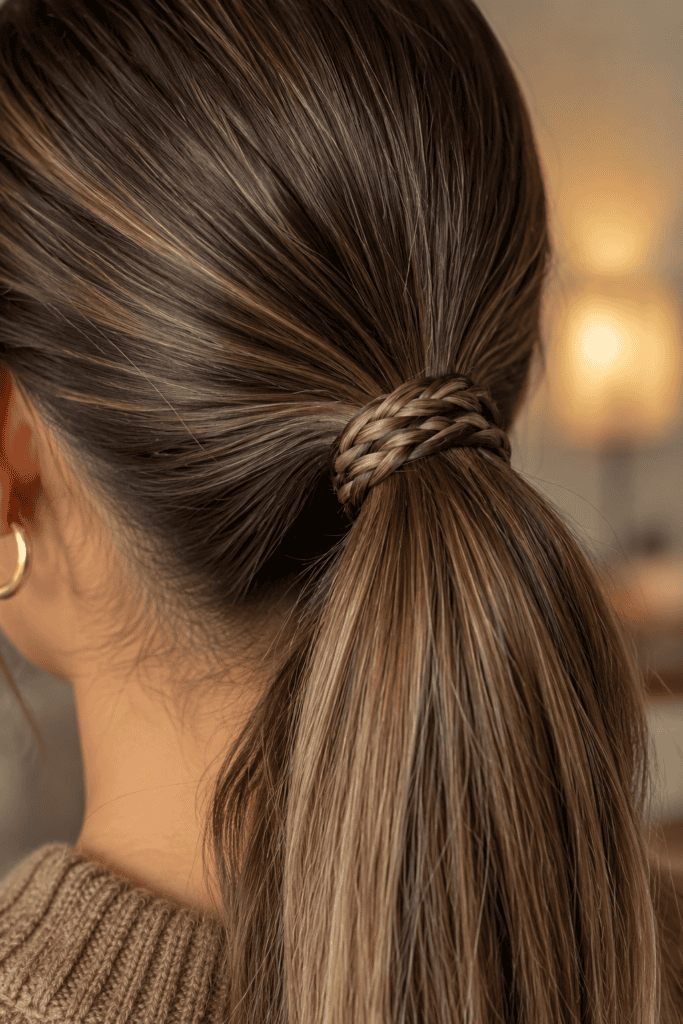
A braided wrap ponytail takes the basic “wrap a piece of hair around the elastic” trick and upgrades it into something that looks like real effort—because it barely is. Instead of a plain section, you use a small three-strand braid to cover the hair tie.
This detail alone changes the entire perception of the hairstyle. The braid wrap adds texture at the base, which draws the eye and makes the whole ponytail look more “done.”
Why this works:
- The braid disguises the elastic completely
- It adds a textural contrast against a smooth ponytail
- It works on second-day hair, since braids benefit from slight texture
- It pairs well with both high and low ponytail placements
6. The Curly High Pony
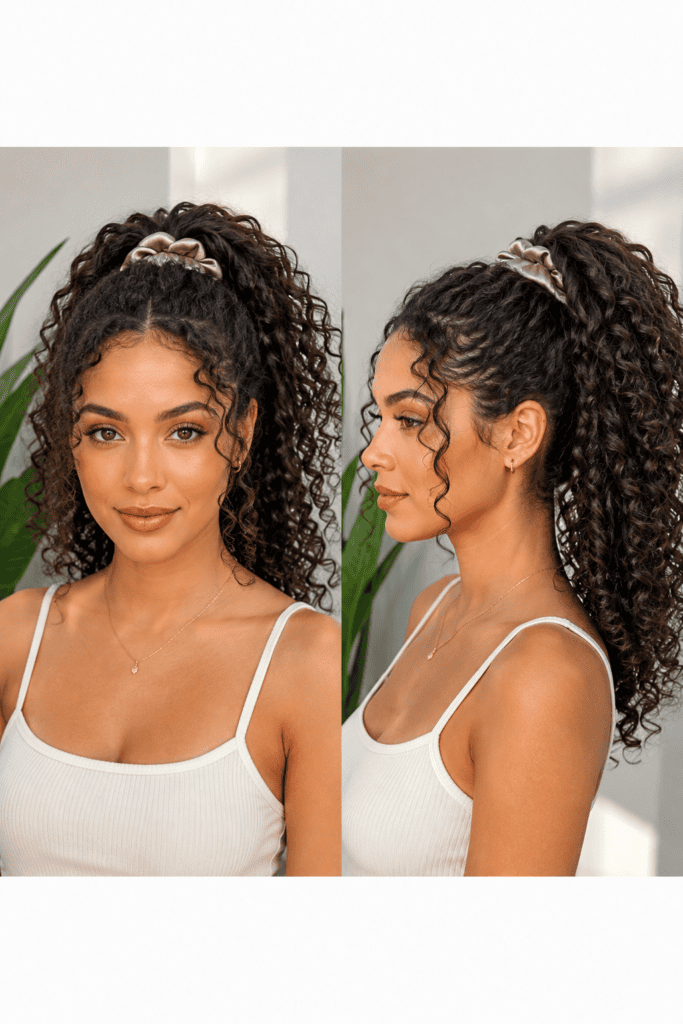
Curly hair and ponytails don’t always get along—shrinkage, frizz, and uneven volume can turn a good idea into a frustrating one. But a curly high pony, done right, is one of the most striking looks on this list. The key is prepping curls before pulling them up, not after.
Applying a curl cream or gel while hair is still wet, then diffusing before styling, locks in definition. Pulling already-set curls into a ponytail preserves the pattern instead of crushing it into a frizzy mess.
Prep checklist:
- Detangle curls only when soaking wet with conditioner in
- Apply styling product in sections, scrunching upward
- Diffuse or air-dry fully before gathering into a ponytail
- Use a silk or satin scrunchie to prevent breakage and frizz
7. The Ponytail With a Front Poof (Bouffant Pony)
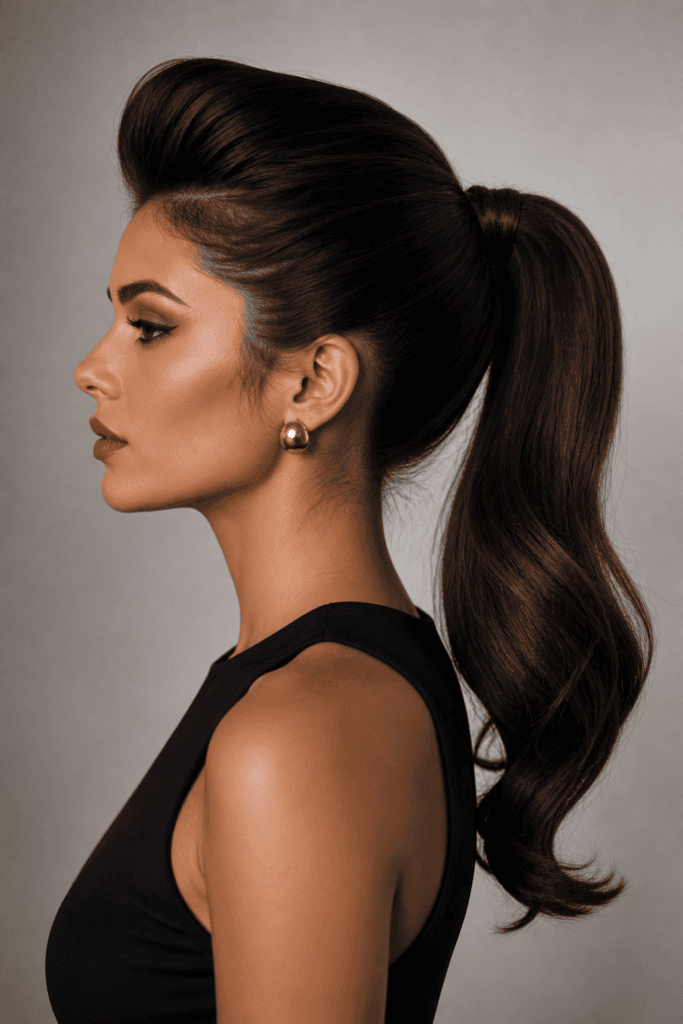
This one has serious throwback energy, and honestly, it deserves the comeback. A bouffant-style poof at the front, paired with a sleek ponytail in the back, creates contrast between structure and movement. It’s a look that says “I know exactly what I’m doing.”
Why does this combination work so well? Because it balances a strong silhouette with softness—one section built up, one section pulled sleek. That contrast is what elevates it above a standard ponytail.
Building the poof:
- Section a triangle from the crown, wider at the front
- Backcomb generously at the root, then smooth the top layer
- Pin the poof section before pulling the rest into the ponytail
- Finish the poof edges with a light spray to prevent collapse
8. The Side Ponytail
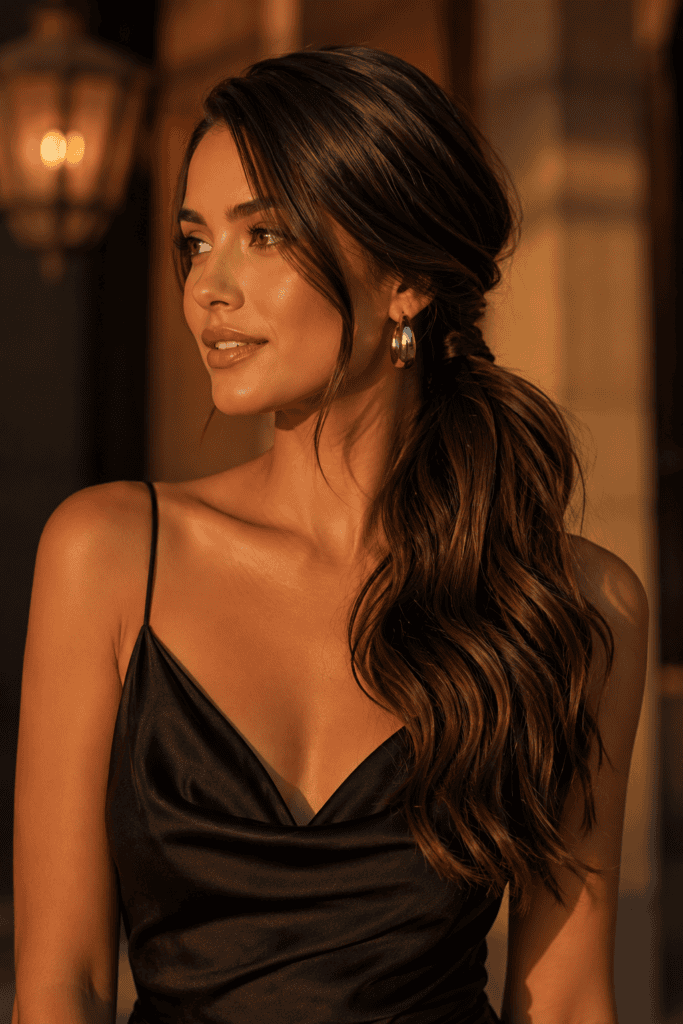
A side ponytail sits at an angle most people forget exists. Gathering hair to sit over one shoulder instead of centered at the back changes the entire feel of the style—it’s less “gym” and more “there’s a reason I did this on purpose.”
This works especially well with a deep side part, since the asymmetry already exists in the parting and the ponytail just continues that line. A side ponytail photographs beautifully at events because it keeps the neckline visible while still framing the face.
Getting the angle right:
- Start with a deep side part rather than a center part
- Gather all hair toward one ear, keeping tension even
- Secure slightly below ear level for the most flattering drape
- Add loose waves for movement if your hair is naturally straight
9. The Ponytail With Face-Framing Layers
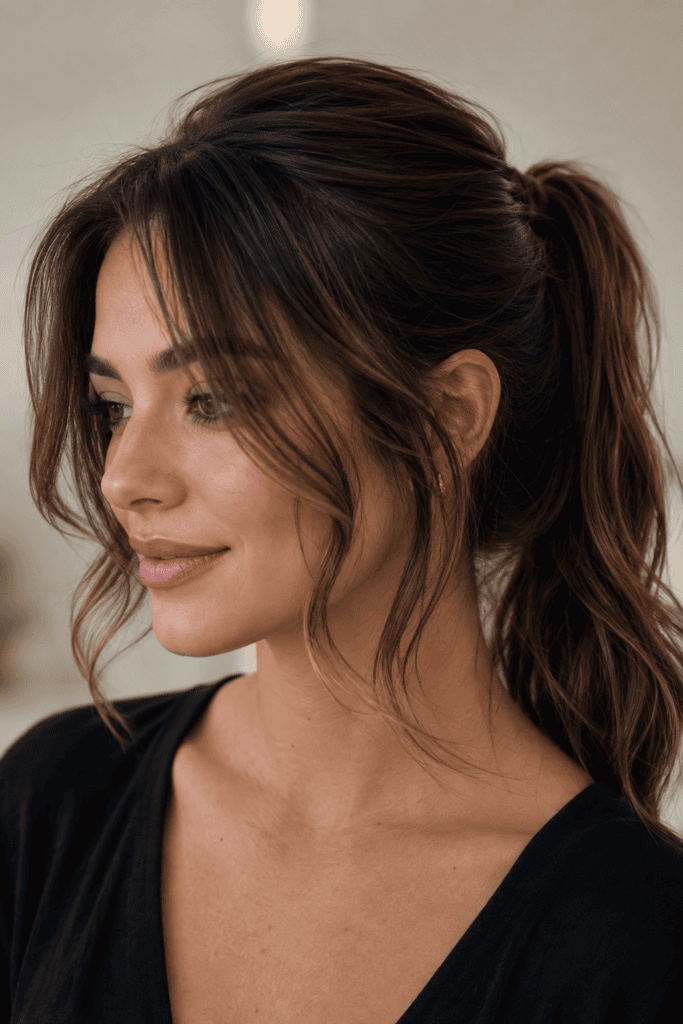
Not every ponytail needs to pull every single strand back. Leaving face-framing pieces out—especially if you already have layers cut in—softens the whole look and keeps it from feeling severe. This is arguably the easiest style on this list to execute, which makes it a great starting point if you’re new to “leveling up” your pony.
Why does this matter so much? Because a face without any framing can look stark, especially with a very tight, high ponytail. A few soft pieces around the cheekbones balance that out immediately.
Quick tips:
- Pull out pieces before securing the ponytail, not after
- Use a curling wand on the lowest heat to add soft bends
- Keep the pieces asymmetrical rather than perfectly matched
- Finish with a texturizing spray for a lived-in finish
10. The Double Ponytail (Space Buns’ Cooler Cousin)
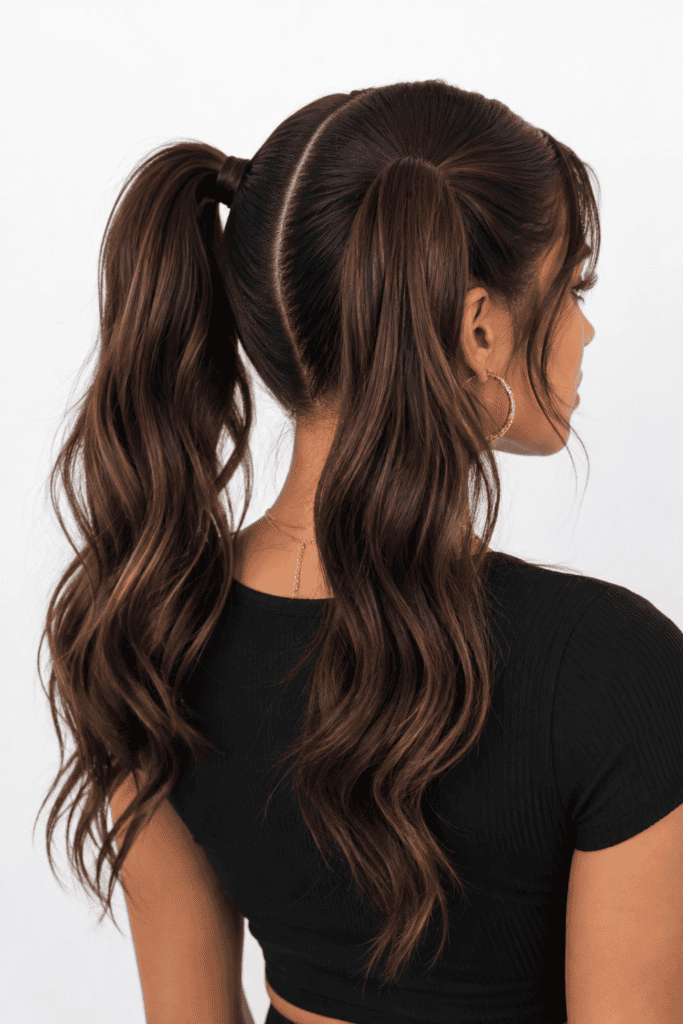
Two ponytails, split high on either side of the head, bring a slightly playful edge without tipping into costume territory. This look works surprisingly well for both casual days and festival-style outfits, and it’s a genuine break from the single-pony routine.
A double ponytail gives symmetry a fun twist—both sides mirror each other, which makes the whole look feel put-together even without much additional styling. It’s proof that a small structural change can completely shift the vibe of a hairstyle.
Sectioning tips:
- Part hair down the center before splitting into two ponytails
- Match tension on both sides so neither pony pulls tighter
- Add slight waves or curls for a softer finish
- Use matching elastics or hair cuffs for a coordinated look
11. The Wrapped Chignon Ponytail (Half Pony, Half Bun)
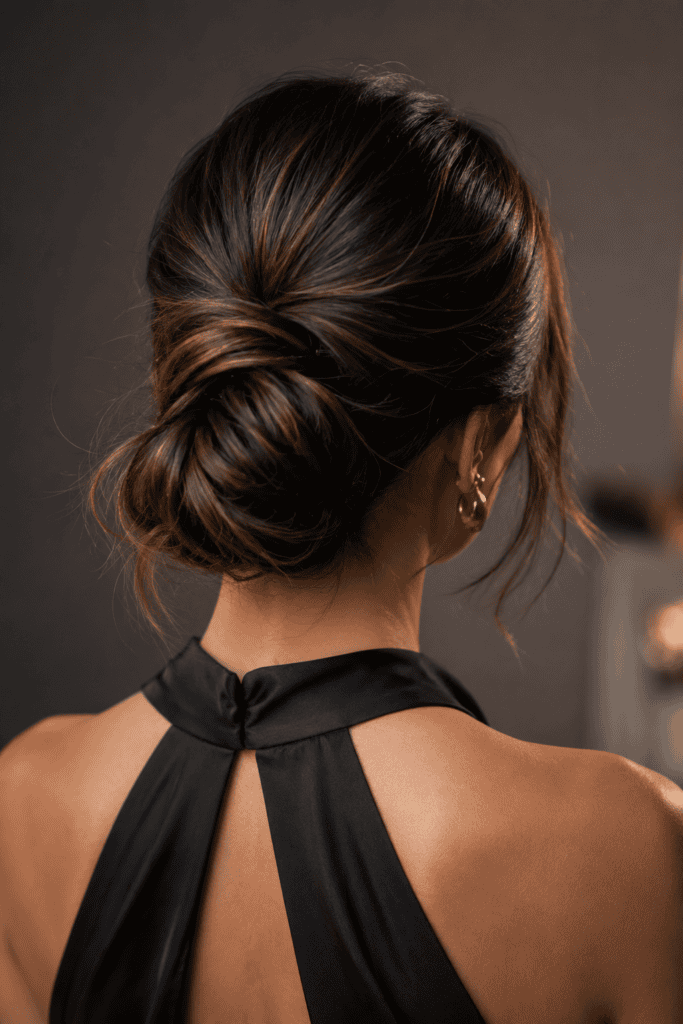
This hybrid style takes a ponytail and folds it into a loose bun at the end—part sleek, part relaxed. It gives you the length and movement of a ponytail with the polish of an updo, which makes it a strong option for anything from a dinner to a work event.
The wrapped chignon pony works because it doesn’t commit fully to either style—it borrows the best parts of both. The looseness keeps it from looking overly formal, while the wrap keeps it from looking undone.
How to create it:
- Gather hair into a mid-to-low ponytail
- Twist the ponytail loosely, not tightly
- Wrap the twisted length around the base like a bun
- Pin loosely, leaving a slightly undone texture on purpose
The Bottom Line on Ponytails
A ponytail doesn’t have to be the style you default to when you’ve run out of ideas. The base, the wrap, and the finish are what separate a rushed pony from a polished one, and every style on this list works with that same formula in a different way.
TBH, the best part about all 11 of these? None of them require a full skill reset—just a few extra minutes and the right technique for your hair type and the moment you’re dressing for.