Can I be honest with you for a second? I spent years doing the most with my nails. We’re talking chunky glitter, three-dimensional gems, ombre gradients that required a full tutorial to recreate, and at least one set that I can only describe as “a craft project that got out of hand.” And every time I sat across from my nail tech watching her layer on yet another accent design, some small, quiet part of me was thinking is this actually me?
It took an embarrassingly long time and honestly, way too much money — before I started paying attention to the nails I actually kept coming back to. The ones I’d zoom in on when I spotted them on someone’s hands at a coffee shop. The ones I’d admire on a stranger at a dinner table and spend the rest of the evening thinking about. The ones that stayed in my head long after a scroll, a glance, or a chance encounter. And here’s the thing I finally noticed: they were almost always simple. Clean. Quiet. A perfect nude. A single thin line. A barely-there tint that somehow looked more expensive than anything I’d ever worn on my own nails.
1. Nude That Actually Matches Your Skin
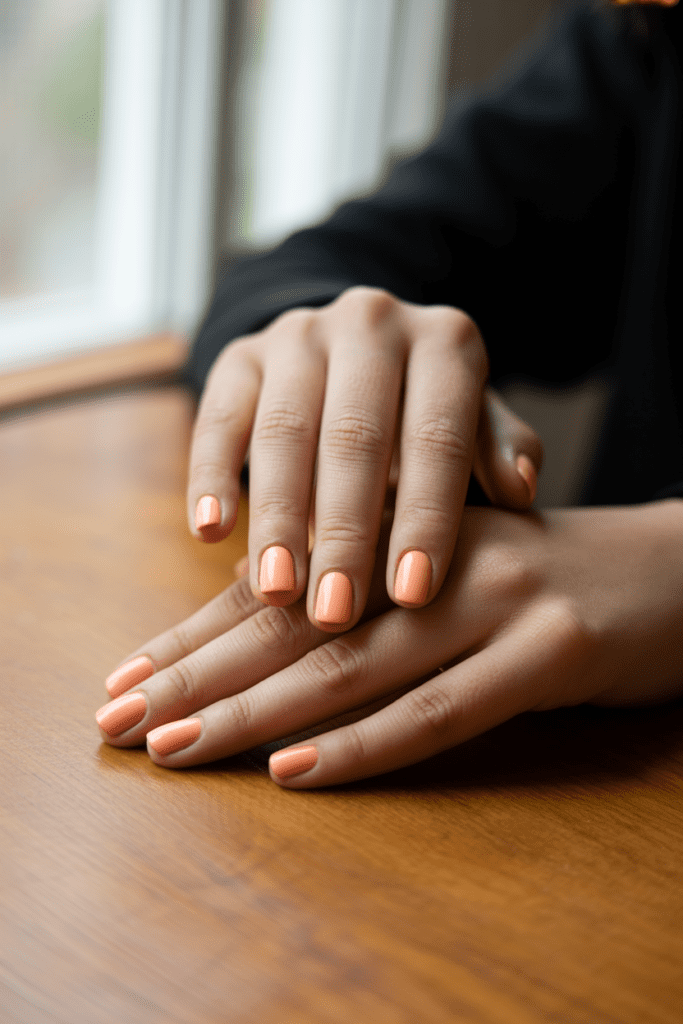
Everyone talks about nude nails like they’re one universal color. They are not. I learned this the hard way after buying six “nude” polishes that turned my hands into something from a Halloween costume.
The key is finding your undertone first. Warm skin tones look incredible in peachy-beige nudes. Cool tones pop with pinkish or taupe nudes. Neutral tones? You lucky people can pull off almost anything in the nude family.
A well-matched nude nail is the visual equivalent of a clean white tee — it makes everything else you’re wearing look more intentional.
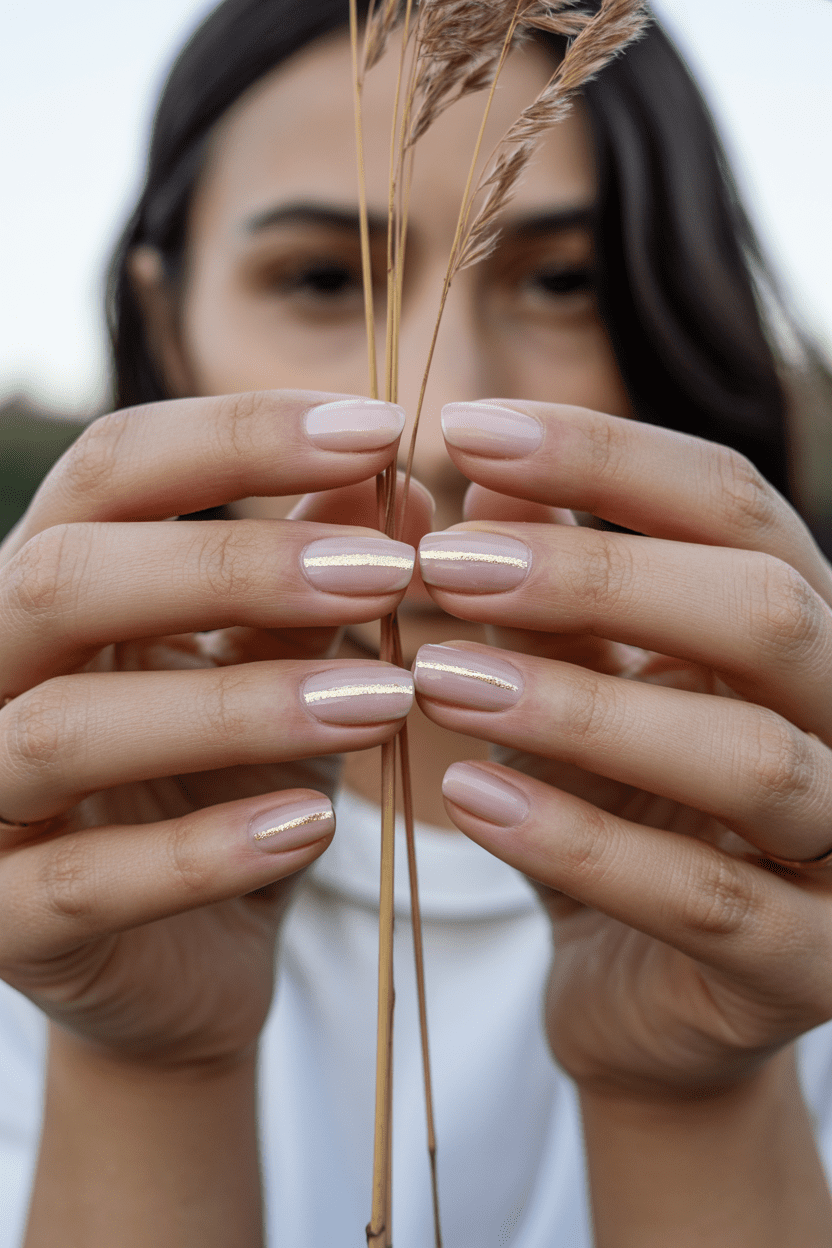
2. Single-Stripe Nail Art (The Thin Line That Does Everything)

A single thin line painted across the nail — horizontal, vertical, diagonal — is one of the most underrated minimalist nail designs out there. It looks deliberate, artistic, and polished without requiring an actual nail artist’s steady hand.
Try this combo:
- Sheer nude base coat
- One thin gold or black stripe across the center
- High-gloss top coat to seal it
You can use nail tape or a striping brush. I use nail tape because my hands shake the moment I try to be precise, and we don’t need that chaos.
3. French Tips, But Make Them Interesting
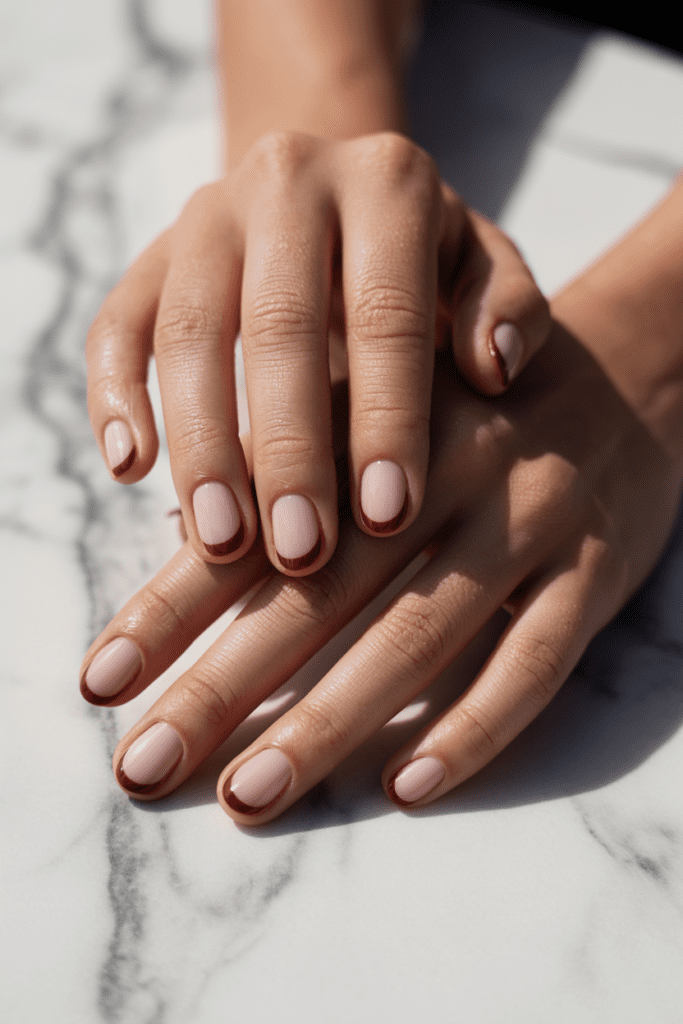
Classic French tips are beautiful. But we’ve seen them. We’ve lived them. The minimalist update? Swap the white tip for something unexpected.
Some of my favorite modern French tip variations:
- Chocolate brown tips on a sheer base — very quiet luxury
- Dusty rose tips that barely contrast with a nude base
- Reversed French — color on the base of the nail instead of the tip
- Ultra-thin tips instead of the classic chunky white line
The thinner the tip, the more editorial it looks. This is a small change that makes a massive difference in how your nails photograph.
4. Milky White Nails — The One Trend I’ll Never Stop Wearing

If you haven’t tried milky white nails yet, I honestly don’t know what you’re waiting for. This is a sheer, slightly cloudy white that sits somewhere between a natural nail and a full opaque white — and it is beautiful on every skin tone I’ve ever seen it on.
It looks clean, it looks expensive, and it goes with literally everything. I wore this on my wedding anniversary dinner and got three compliments from strangers. Three. On my nails.
5. Negative Space Nails Done Right
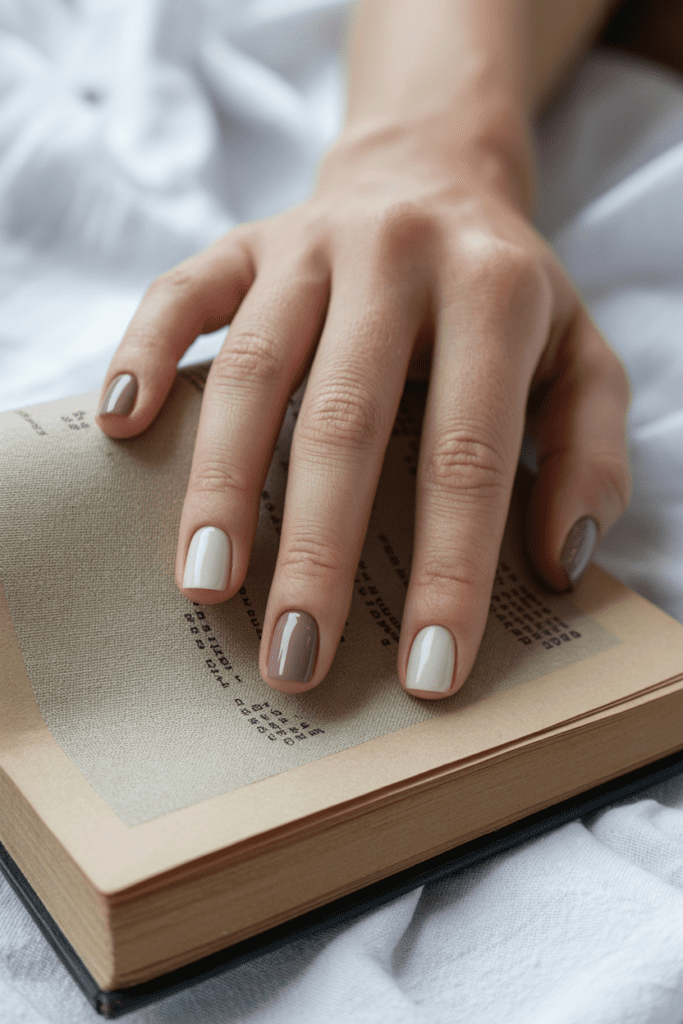
Negative space nails use your actual bare nail as part of the design. This sounds lazy — it is not lazy. When done well, it looks incredibly intentional and modern.
Simple ways to do negative space at home:
- Leave a half-moon at the base of the nail unpainted
- Paint just the sides of the nail, leaving the center bare
- Do a geometric cutout shape using nail tape before painting
The trick is precision. Messy negative space just looks like you ran out of polish. Clean negative space looks like contemporary art.
6. Micro French with a Colored Twist
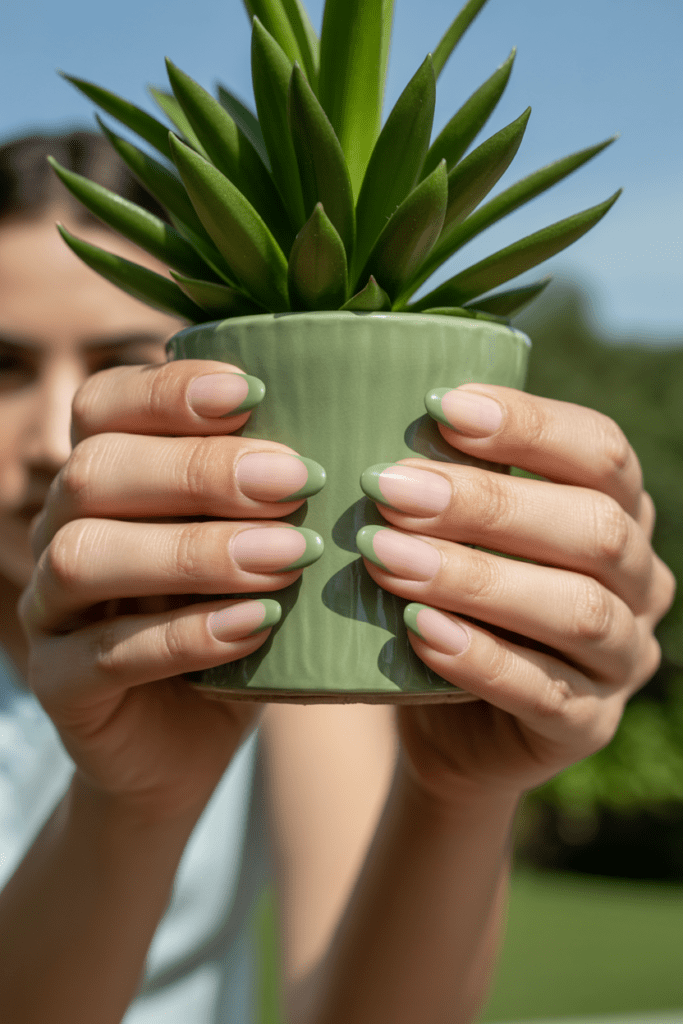
This is the micro French — a barely-there tip that’s almost whisper-thin — but in a color. Think pale lavender, soft sage, baby blue, or warm terracotta.
I first tried this in a sage green on almond-shaped nails and genuinely could not stop staring at my own hands. It’s that combination of so subtle and so considered that makes minimalist nail design so addictive.
Best nail shapes for micro French:
- Almond
- Oval
- Soft square
7. The Single Accent Nail
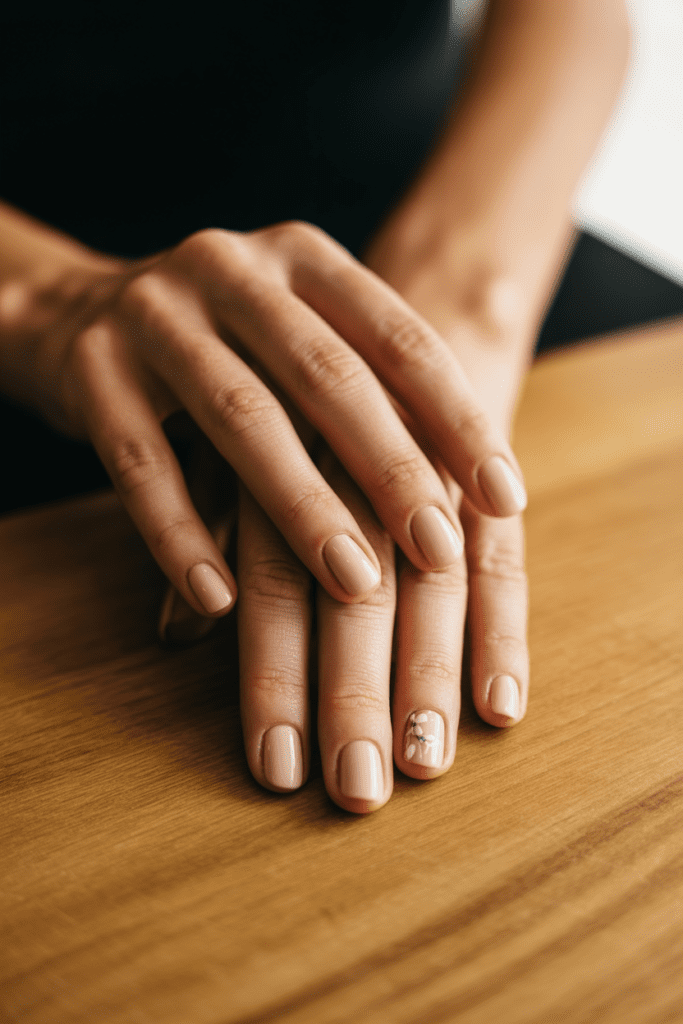
One nail, one pop of something different. The rest stay simple. This is minimalism with one tiny moment of personality, and it works every time.
You don’t need all ten nails to tell a story. Let one nail wear a delicate floral, a metallic foil, or a subtle shimmer while the others stay clean. Less noise, more impact.
8. Sheer Tinted Nails in Unexpected Colors
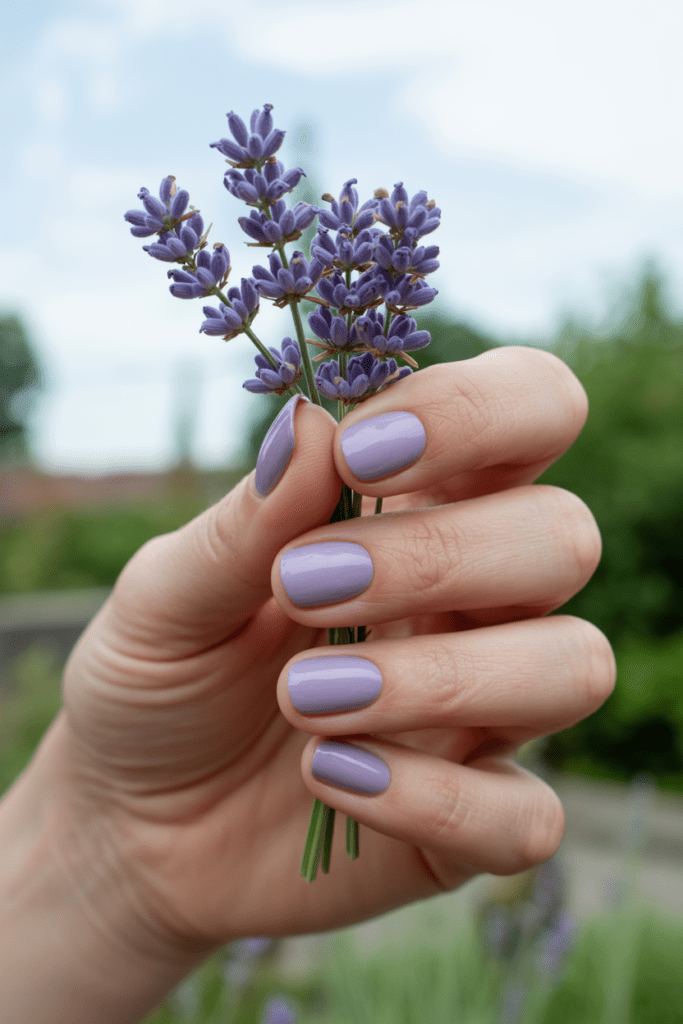
Sheer nails have this effortless quality where they look like your nails but better. The magic happens when you move past sheer pink and sheer nude into sheer versions of unexpected colors.
Colors that work beautifully in sheer:
- Sheer lilac
- Sheer terracotta
- Sheer forest green
- Sheer cobalt blue
These look translucent and delicate rather than bold, which keeps them squarely in minimalist territory while still being genuinely interesting. FYI, two to three thin coats builds the sheerness perfectly — you don’t want full opacity here.
9. Clean White Nails (Not Stark, Not Yellow — Just Right)
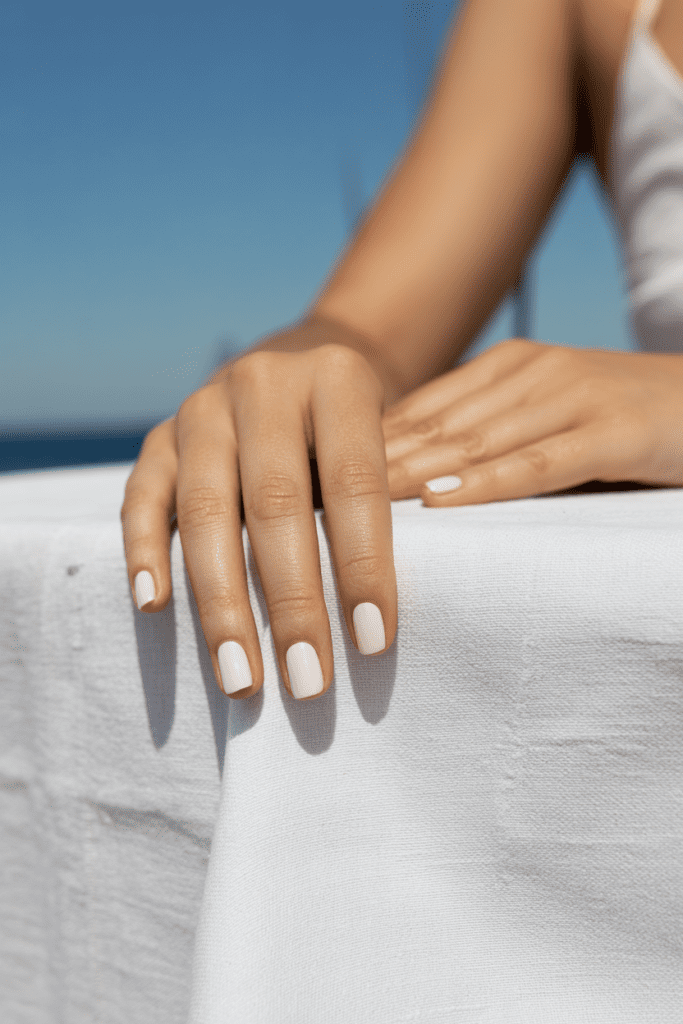
White nails have a reputation for looking either clinical or grubby after two days. Both criticisms are fair. But the right white nail — slightly warm, applied cleanly, sealed with a quality top coat — is one of the sharpest things you can put on your hands.
The secret I swear by: apply white polish in three thin layers rather than two thick ones. Thick white polish streaks. Thin layers build into something smooth and even that actually holds up.
White nails are especially stunning in summer and against any tan, but honestly, I’ve worn them in November and felt completely unbothered about it.
10. Dots — The Minimalist Nail Art That Requires Zero Skill
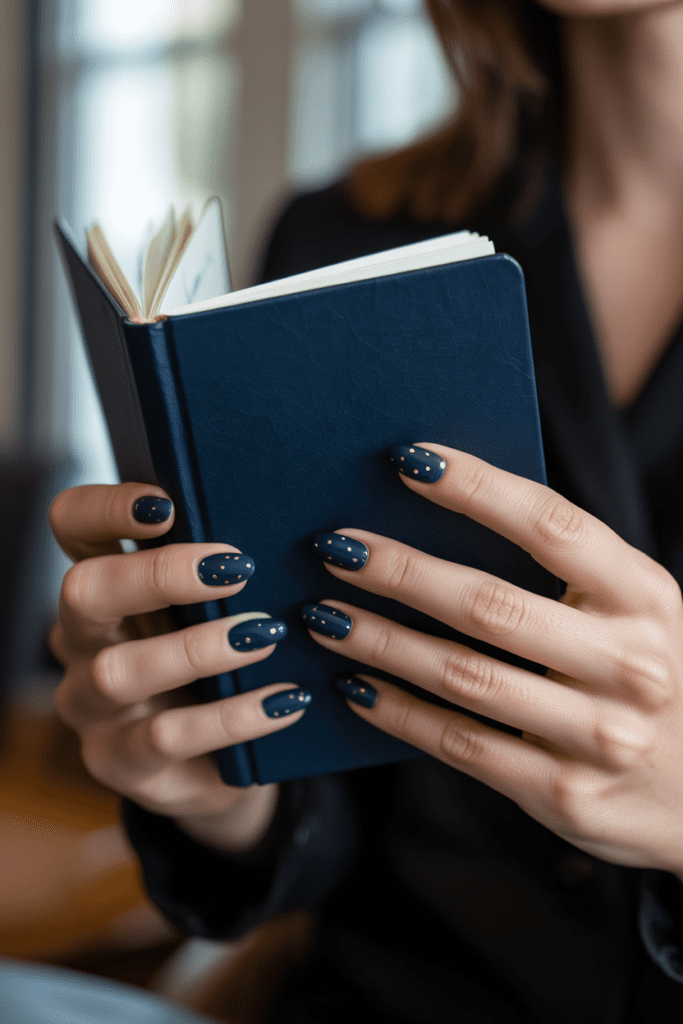
A single dot. Or three dots. Or a scattered constellation of dots. Dots are the most forgiving nail art technique because their charm is their imperfection — slightly uneven spacing just looks intentional.
Use a dotting tool, the end of a bobby pin, or the head of a pin. Gold dots on a navy base is a combination I’ve come back to more times than I can count. It’s simple, it’s chic, and it takes about four minutes.
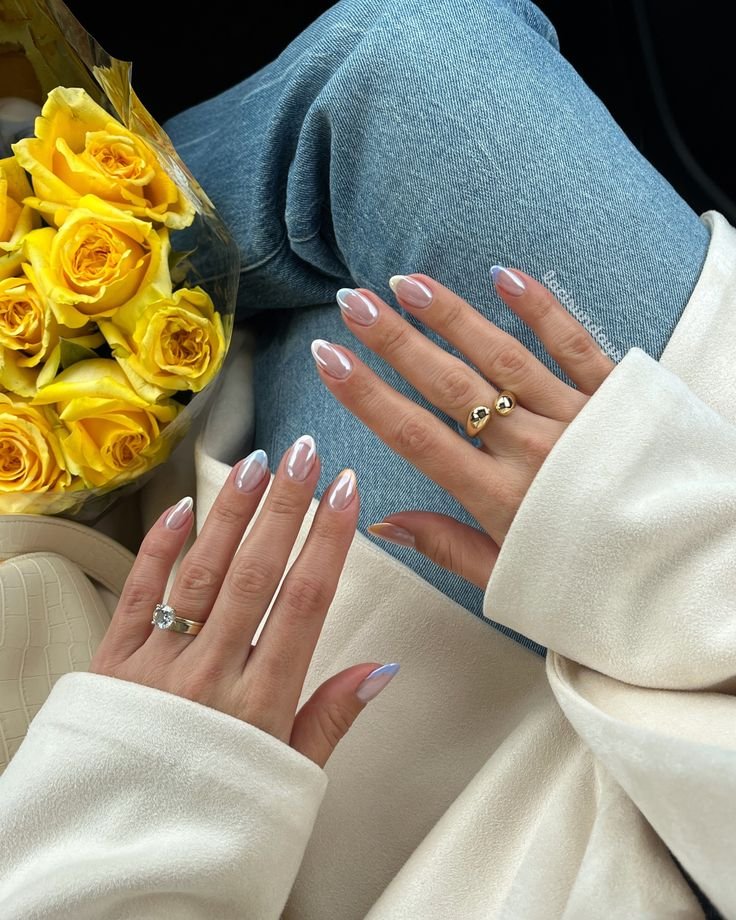
11. Glazed Donut Nails (Yes, They’re Still Relevant)
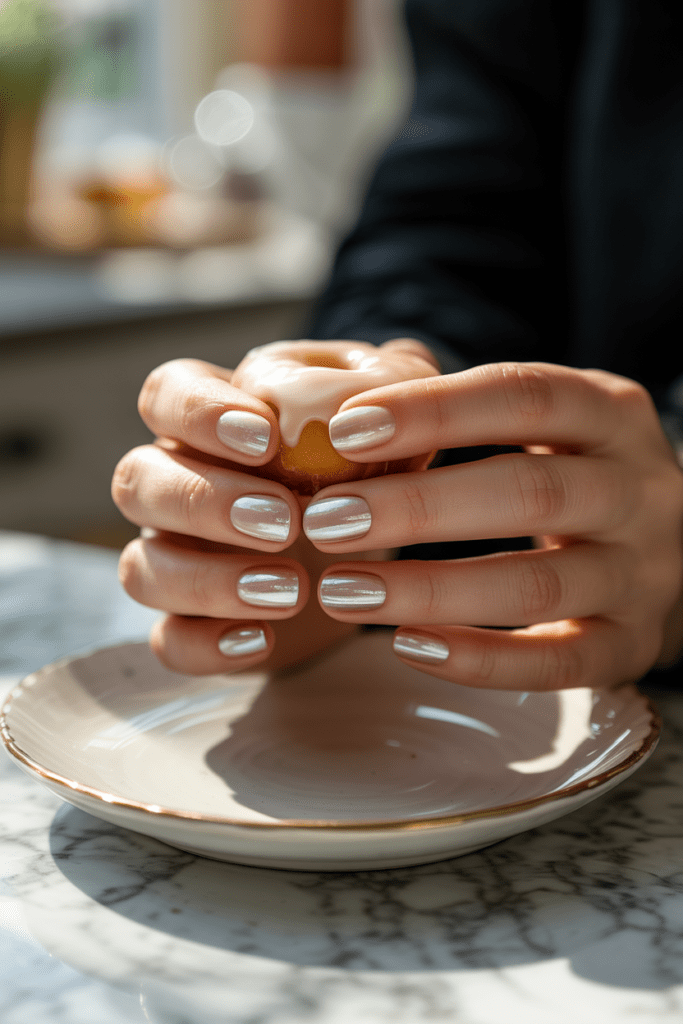
I know, I know — glazed donut nails had their massive viral moment and now everyone’s a little tired of hearing about them. But here’s the thing: the reason they went viral is because they genuinely look incredible. 🙂
The chrome pearl finish gives nails this dimensional, glass-like quality that photographs beautifully and catches light in a way regular polish simply doesn’t. You can do this with a chrome powder over a gel base or find polishes that replicate the effect without the salon.
It’s minimalist because the design is essentially just the finish — no shapes, no art, no complicated technique. Just that mirror-like glow.
12. Earth-Tone Nails for Every Season
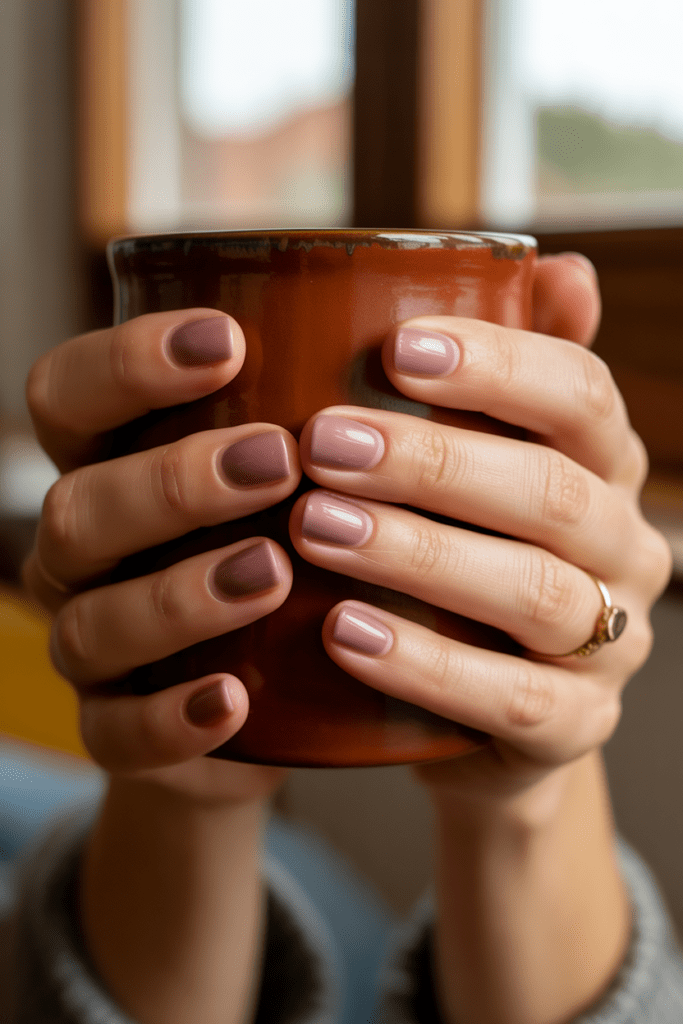
Earth tones on nails feel grounding and sophisticated in a way that trendy colors sometimes don’t. We’re talking warm browns, terracottas, muted olives, dusty taupes, and soft caramels.
My current rotation of earth-tone shades:
- Warm caramel — wears like a dream against gold jewelry
- Dusty mauve — the world’s most wearable pink-brown
- Muted olive — unexpected but universally flattering
- Deep terracotta — perfect for autumn, honestly good year-round
Earth tones photograph well, coordinate with almost every wardrobe color, and feel polished without looking like you tried too hard. That’s the minimalist sweet spot.
13. Half-Moon Manicure (The Retro Minimalist)
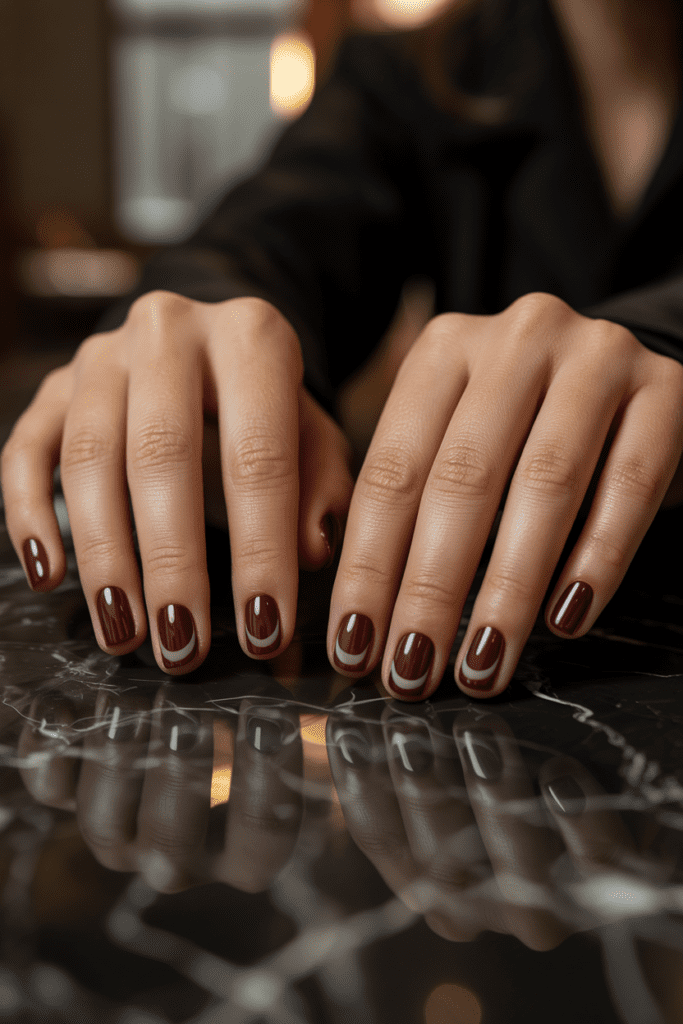
The half-moon manicure leaves a crescent shape at the base of the nail — the lunula — in a contrasting color or bare. It’s vintage-inspired, geometric, and effortlessly cool.
Easy half-moon combinations:
- Bare lunula with a deep burgundy nail
- White lunula with a soft beige nail
- Gold lunula with a black nail
Use a round reinforcement sticker (yes, the paper stationery ones) to mask the lunula while you paint, then peel off for a clean edge. IMO this is one of the most underappreciated DIY nail techniques out there.
14. Matte Top Coat — The Upgrade Nobody Talks About Enough
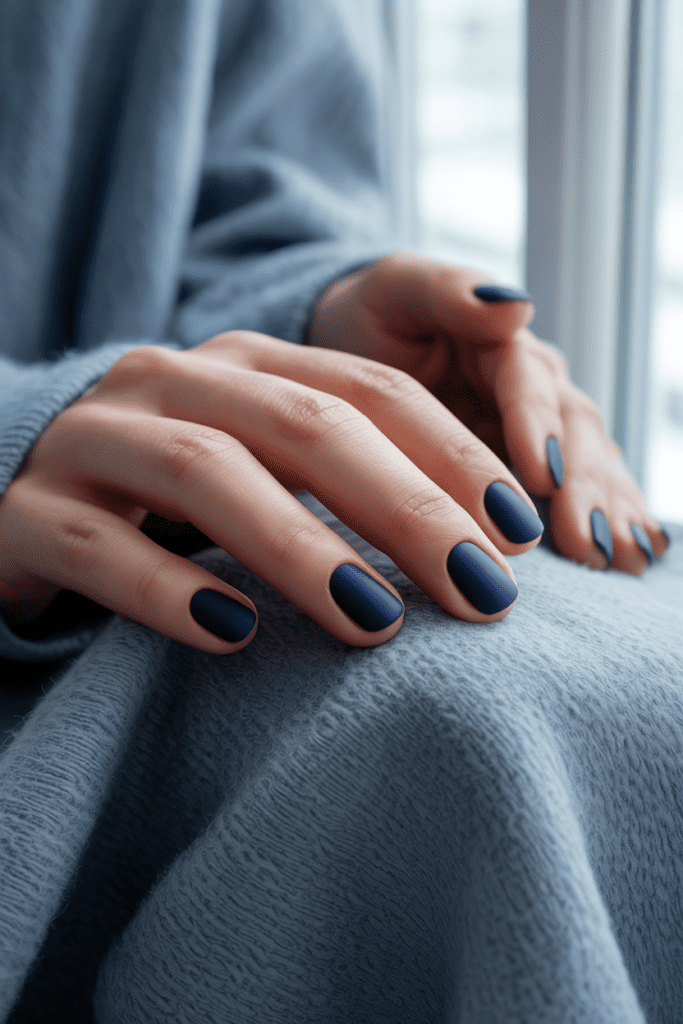
This isn’t a nail design exactly, but it changes every design you already have. A matte top coat over any color transforms it completely. A bright red becomes sophisticated. A nude becomes velvety. A dark navy becomes almost suede-like.
If you’ve never tried a matte finish, start with whatever color you’re wearing now and just swap the top coat. It takes ten seconds and it genuinely changes the whole feel of your manicure.
One caveat: matte nails chip and show wear slightly faster than glossy, so reapply the top coat every couple of days.
15. Barely-There Pink — Not Bubblegum, Not Nude
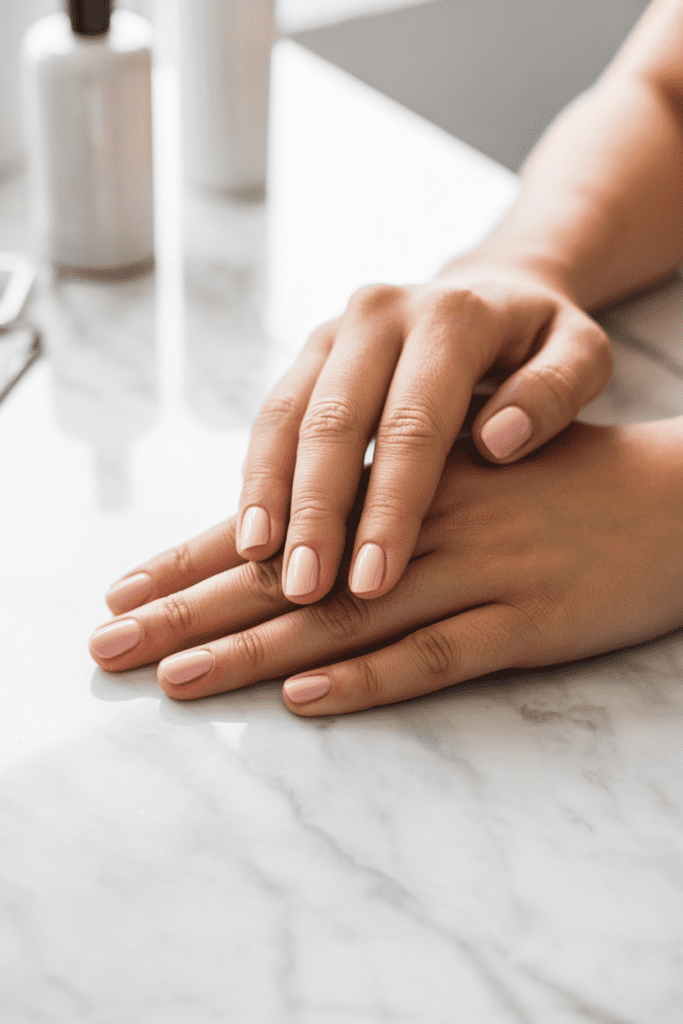
There’s this very specific shade that lives between a soft pink and a nude — not quite either one, just a whisper of color — and it is one of the most consistently beautiful things you can put on your nails.
It reads as polished and put-together in professional settings. It looks pretty and feminine in casual settings. It photographs cleanly without washing out or looking garish.
Finding the right barely-there pink: hold swatches against your palm, not the back of your hand. The palm is closer in tone to your nail bed, so you’ll get a more accurate read on whether the color is working for you.
16. Geometric Nail Art Using Tape
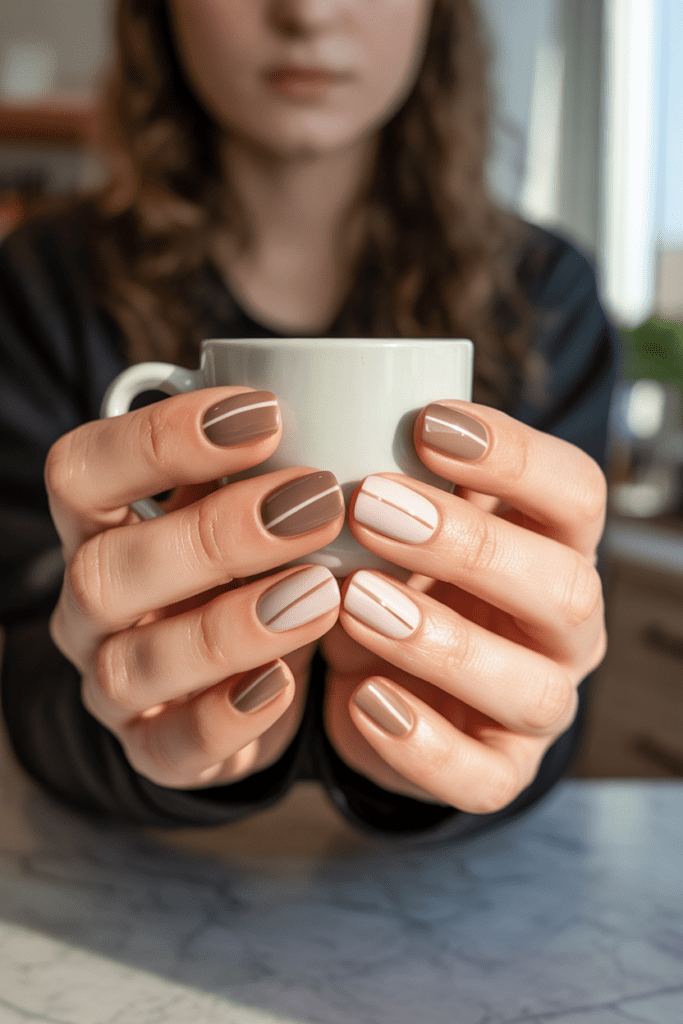
Two or three geometric shapes on one or two accent nails — that’s it. A diagonal split between two neutral colors, a small triangle, a thin rectangle. Tape-based geometric nail art looks incredibly precise and deliberate, and the actual technique is easier than it sounds.
The step-by-step:
- Paint your base color and let it dry completely (patience here is non-negotiable)
- Press nail tape firmly along the edge of your geometric shape
- Paint your second color over the tape
- Peel the tape off while the paint is still wet — not after it dries
- Top coat immediately
The most common mistake is letting the second color dry before removing the tape. It peels off the design with it. Wet removal is the whole game.
17. The “Clean Girl” All-Neutral Set
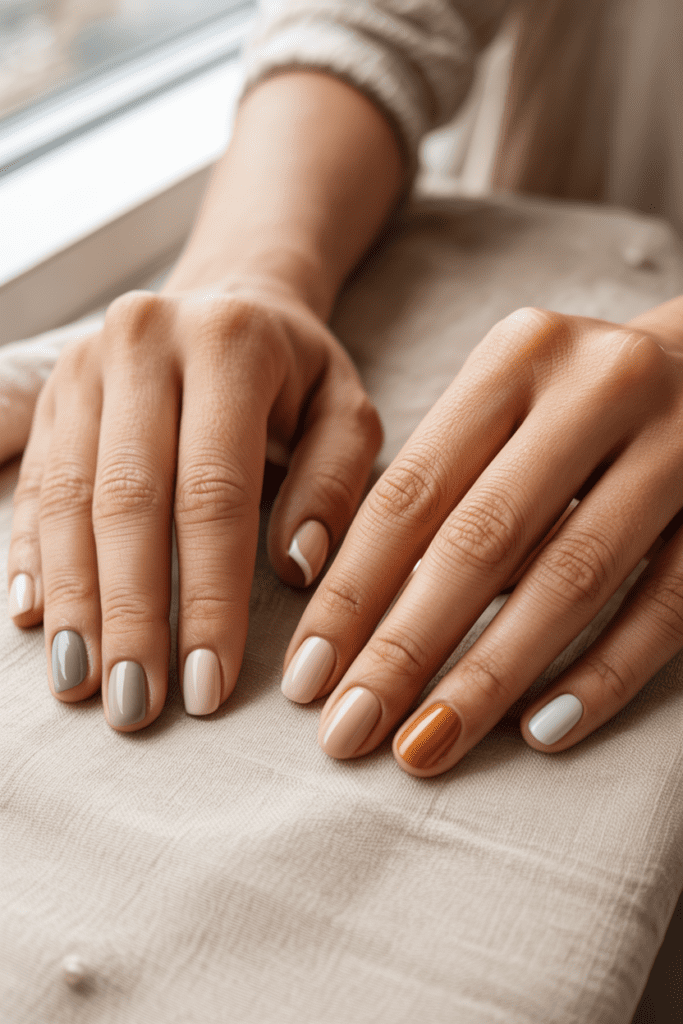
And finally — the look that ties all of this together. The clean girl neutral nail set that beauty editors and nail artists keep coming back to because it simply works.
This is a cohesive set where every nail wears a variation of neutral — not all the same shade, but all from the same tonal family. Think:
- Thumb: warm taupe
- Index: sheer nude
- Middle: soft beige with a micro French
- Ring: matte caramel
- Pinky: milky white
The variation keeps it interesting. The cohesion keeps it minimal. And the overall effect is that very specific kind of “effortless” that actually takes a little thought to achieve — which is kind of the whole philosophy of minimalist style, isn’t it?
A Few Final Thoughts from My Nail Journey
Here’s what I’ve figured out after years of overcomplicated manicures followed by the slow, satisfying shift toward minimalism: the nails you feel most confident wearing are usually the ones doing the least.
Not because bold nails aren’t beautiful — they absolutely are. But minimalist nail designs have this quality where they don’t compete with anything. They work with your rings, your outfit, your skin tone, your mood. They age well over the two weeks between appointments. And they photograph cleanly in every single context, which let’s be honest matters more than we probably want to admit.
Start with one design from this list that feels the least intimidating to you. Maybe it’s the milky white. Maybe it’s the single stripe. Try it once and see how it feels to walk around with nails that whisper instead of shout.
I genuinely think you’ll be converted. And if not, the rhinestones will still be there waiting for you. No judgment whatsoever. 🙂