The holiday season always brings a wave of predictable beauty trends, but finding a manicure that strikes the perfect balance between festive cheer and high-fashion sophistication can be a surprising challenge. While classic red polishes and generic glitter top coats dominate the December salon rush, fashion-forward winter styling demands something far more intentional and unique.
Enter the gift-wrap nail art trend: a highly creative, versatile approach to holiday manicures that transforms the traditional symbols of holiday gift-giving into stunning, wearable designs. This aesthetic moves beyond standard seasonal clichés by focusing on intricate textures, clean lines, and unexpected color palettes that complement a curated winter wardrobe rather than distracting from it.
1. The Classic Crimson Silk Bow
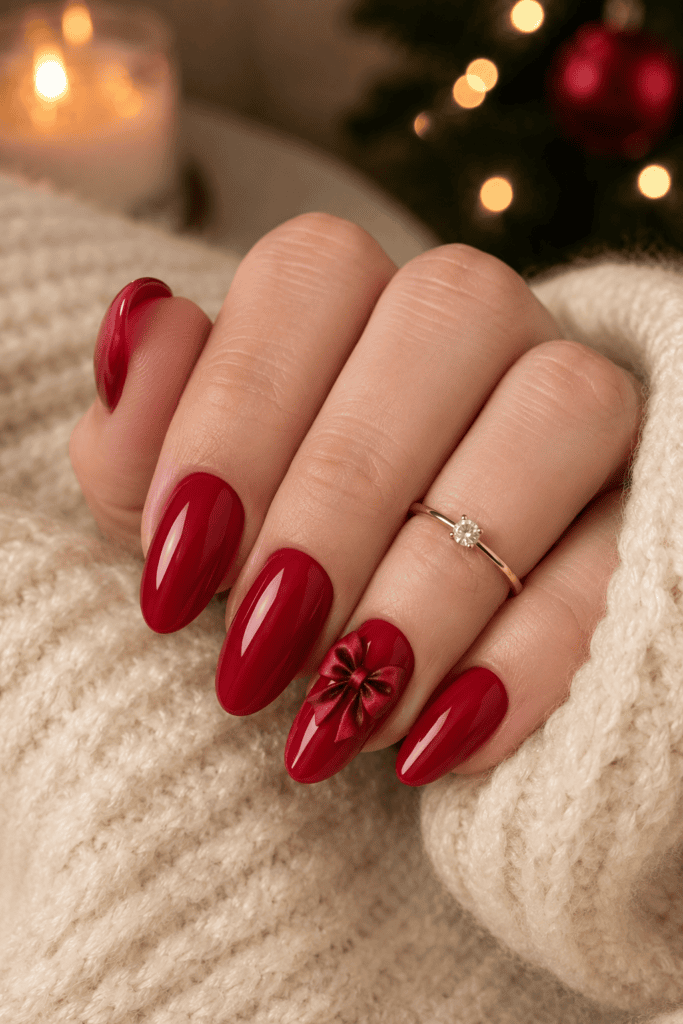
If you’re someone who refuses to stray from traditional holiday red, this look is your perfect compromise. You start with a rich, glossy crimson gel polish as your base coat. Then, using a ultra-thin liner brush, you paint a delicate, 3D-effect silk bow right across the center of your accent nail.
I find that using a slightly darker burgundy shade for the shading makes the ribbon look incredibly realistic. Who doesn’t want their nails to look like an expensive velvet ribbon from a high-end department store boutique?
Why This Style Works:
- Flattering on all nail shapes, especially classic almond or oval cuts.
- Pairs perfectly with every single holiday OOTD you have planned.
- Masks any minor regrowth if you place the bow strategically near the center.
2. Minimalist Kraft Paper and White Twine
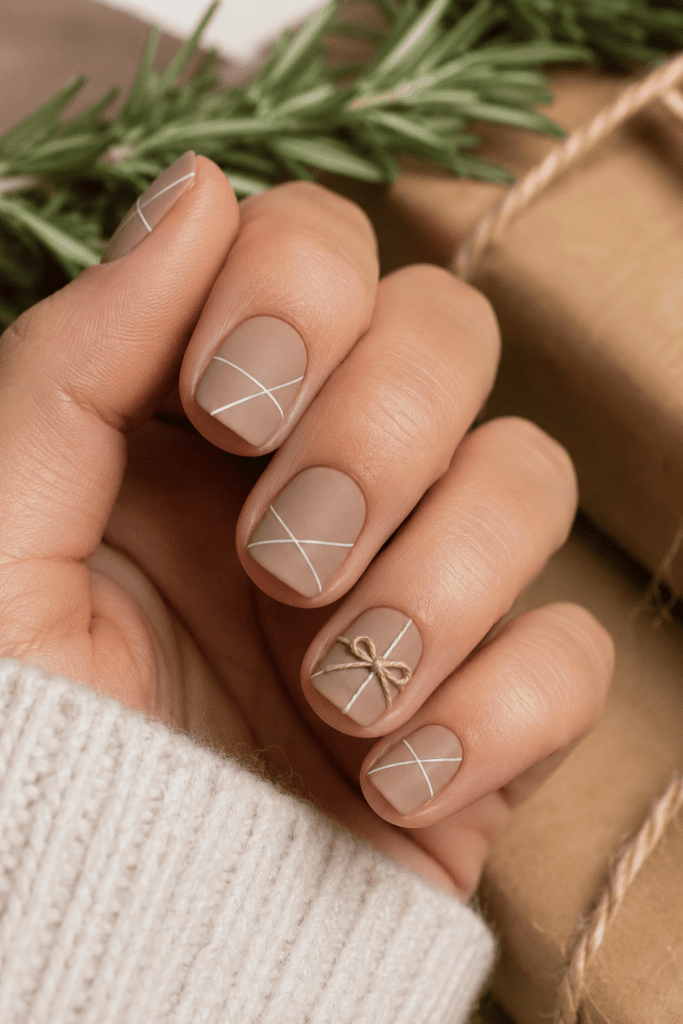
Are you obsessed with that rustic, minimalist aesthetic? You know the look—brown butcher paper, crisp white twine, and a sprig of fresh rosemary. You can easily translate that exact vibe directly onto your fingertips using a matte nude base polish that mimics the color of kraft paper.
Once your base coat dries completely, use a stark white nail art ink to draw thin, intersecting lines. Top it off with a tiny, delicate knot design on your ring finger. I tried this look last winter when I wanted a break from bright colors, and it received more compliments than my usual high-shine manicures.
How to Achieve the Perfect Matte Finish:
- Apply two even coats of your favorite taupe or warm nude polish.
- Draw your fine white “twine” lines using a high-pigment nail art gel.
- Finish with a premium velvet matte top coat to completely remove the shine.
3. High-Shine Metallic Gold Foil Wraps
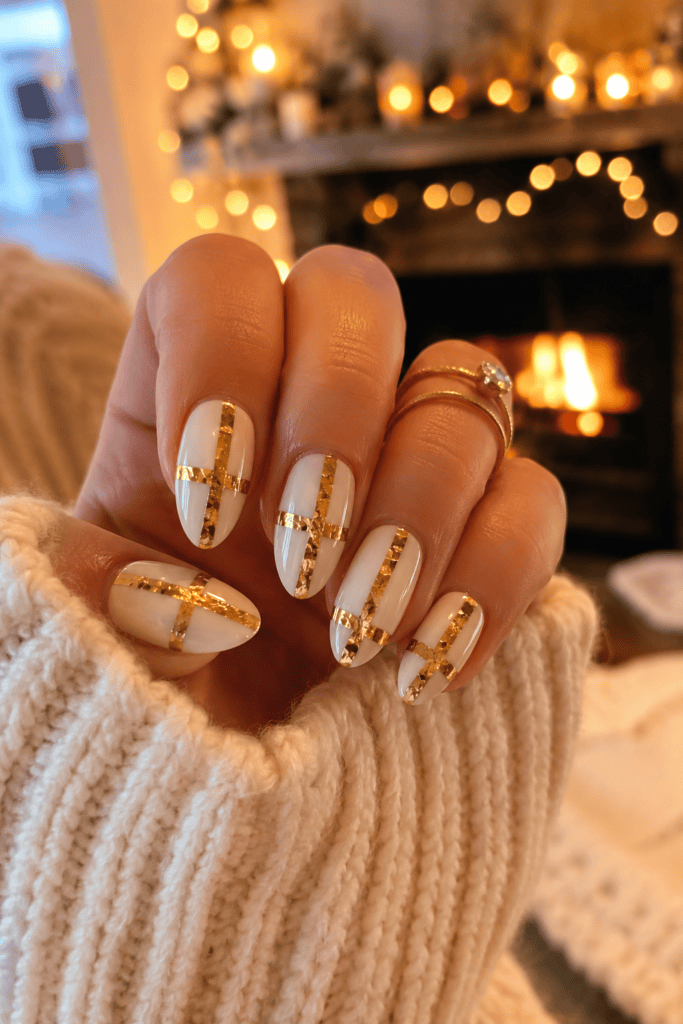
Let’s face it, sometimes the holidays demand maximum drama. If you want a look that practically screams luxury, you need to experiment with metallic gold nail foil. Instead of painting a standard bow, you coat your nails in a sheer milk-bath white base and apply crinkled gold foil strips vertically and horizontally.
Ever wondered why gold always looks so incredibly striking during the winter months? It catches the light of roaring fireplaces and holiday string lights like absolute magic. Just make sure you seal the foil edges properly, or you’ll find yourself snagging your favorite knit sweaters.
4. The Emerald Velvet Ribbon French
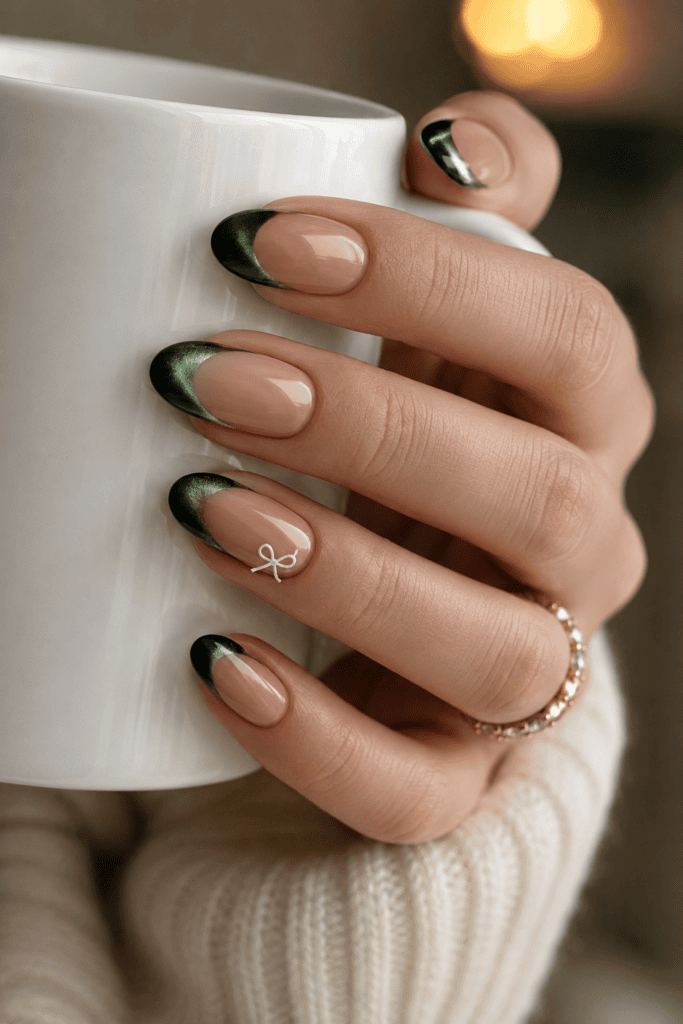
Can we all agree that standard French manicures can feel a little boring when December rolls around? Swap out your traditional white tips for a deep, sultry emerald green magnetic cat-eye polish. This creates an unbelievable velvet texture that shifts whenever you move your hands.
To turn it into a gift-wrap masterpiece, paint a tiny white or gold ribbon knot right where the smile line meets your natural nail bed. It’s sophisticated, unexpected, and completely avoids that over-the-top holiday sweater look.
Styling Variations to Try:
- The Monochromatic Look: Use a matte emerald base with a high-gloss emerald bow.
- The Mixed Metal Look: Add a tiny silver rhinestone to the center of the green knot.
- The Negative Space Look: Leave the base completely bare and only paint the green velvet tips and bow.
5. Frosted Sugar Plum Foil Prints
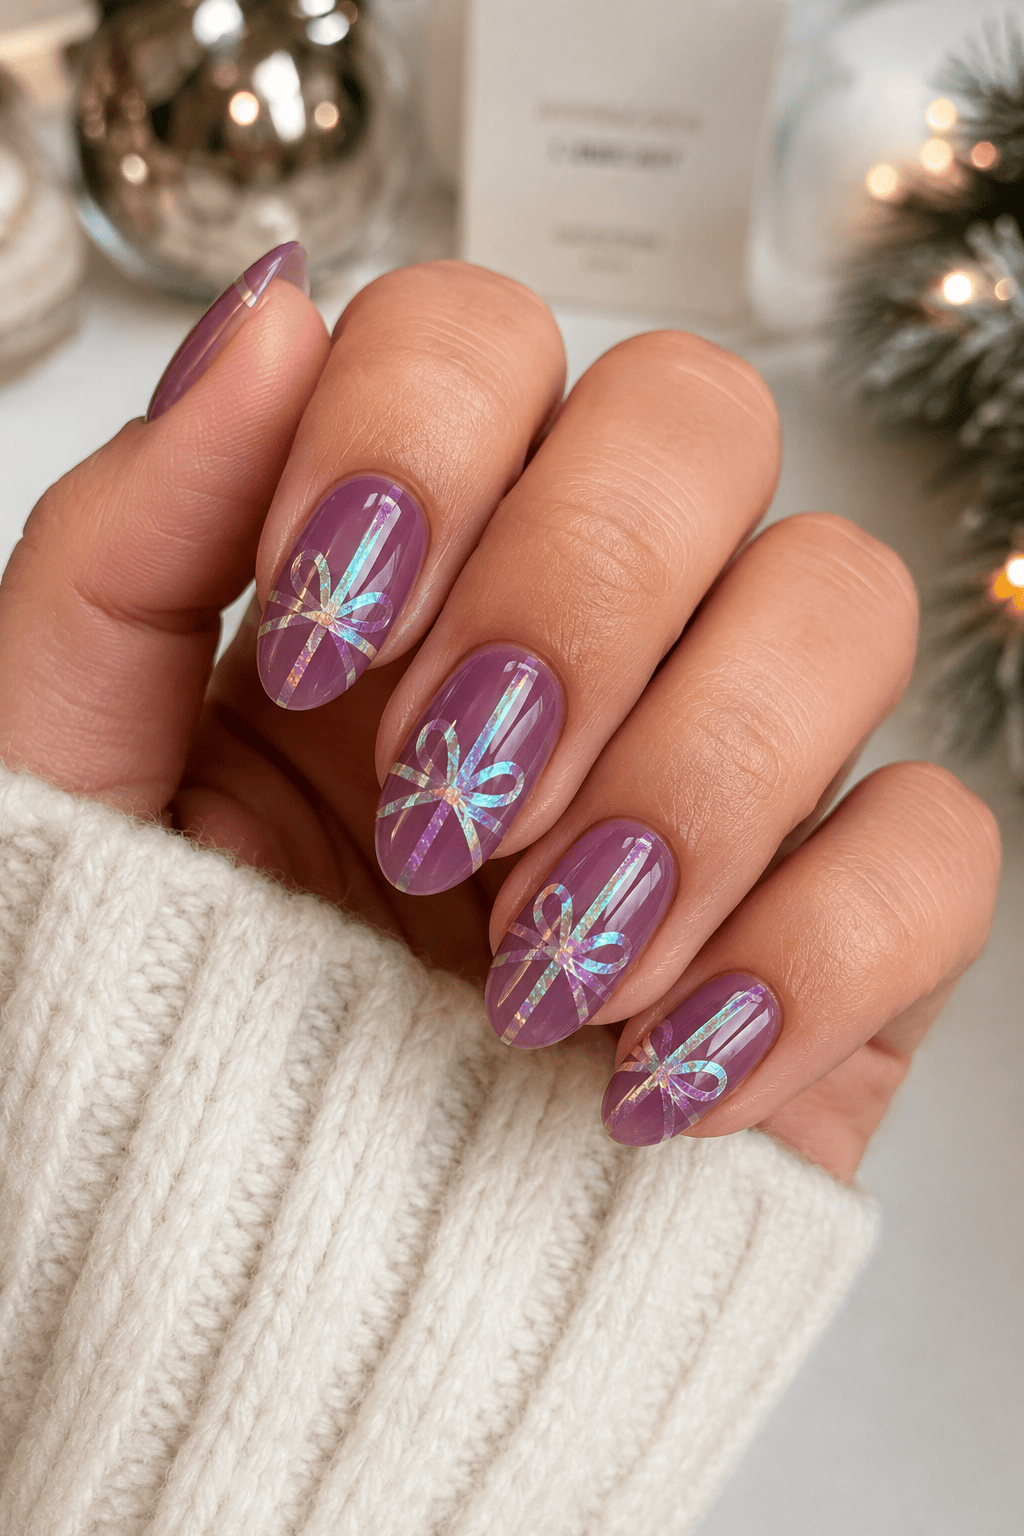
I am completely obsessed with unconventional holiday colors, and this particular design lives rent-free in my mind. You start with a soft, semi-translucent plum purple jelly polish to create a moody, winter-berry background.
Next, you stamp or hand-paint intricate, iridescent pastel ribbon patterns across the nail surface. The iridescence gives the illusion of frosted wrapping paper that changes color depending on the angle of your hands. It’s playful, unique, and perfect for anyone who wants to skip the standard red-and-green color palette this year.
6. Royal Blue and Silver Tinsel Stripes
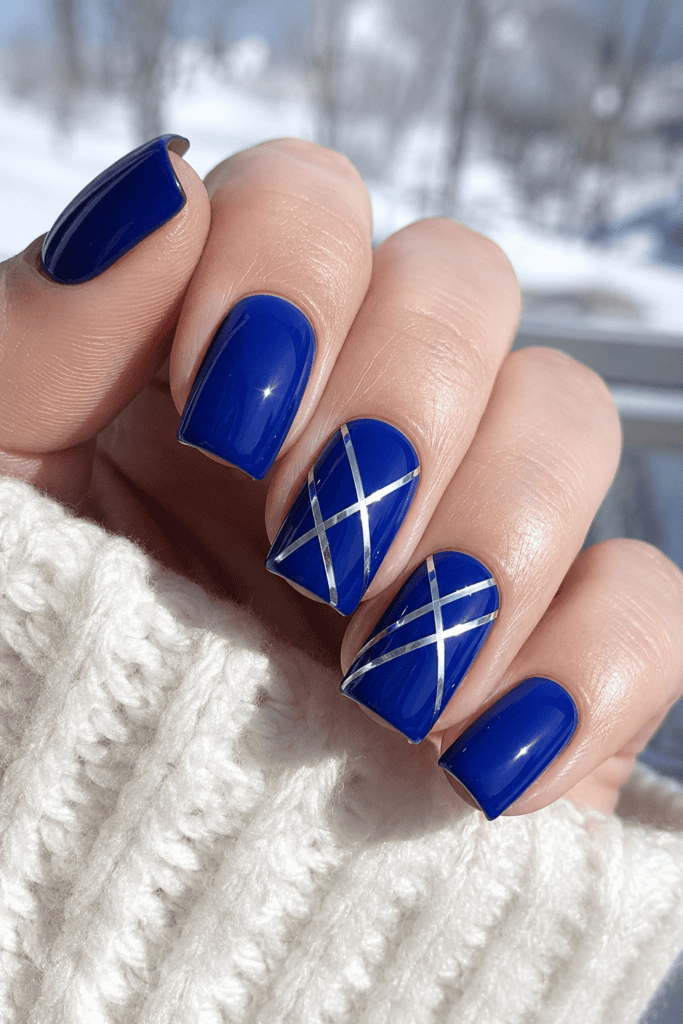
Who says holiday manicures have to be warm-toned? I love a cool, icy winter aesthetic, especially when it involves a rich royal blue cream polish. It feels incredibly royal and serves as the perfect background for silver accents.
For this gift-wrap design, you’ll want to use ultra-fine silver striping tape to create perfectly straight ribbon lines. Crisscross the tape over your accent nails, cut the edges cleanly, and lock it down with a thick layer of high-gloss top coat. Trust me, using striping tape is a million times easier than trying to paint straight lines after your third cup of coffee.
Essential Tools for This Look:
- High-pigment navy or royal blue polish for total opacity in one coat.
- Silver metallic striping tape (0.5mm width works best for nail art).
- Precision nail nippers to trim the tape close to the cuticle line.
- A plumbing-thick top coat to smooth out the ridges of the tape.
7. Champagne Sparkle with Black Grosgrain
Yes, I know, black isn’t the first color you reach for when planning a festive manicure, but hear me out! A ultra-thin pitch-black ribbon design over a shimmering champagne gold base looks incredibly chic and modern. It gives off major designer fashion house vibes without feeling overly dark.
I wore this design to a New Year’s Eve gala last year, and it looked spectacular against a simple black velvet dress. The key here is keeping the black lines incredibly thin and crisp, so they look like elegant grosgrain ribbon rather than random streaks.
8. Plaid Wrapping Paper Accent Nails
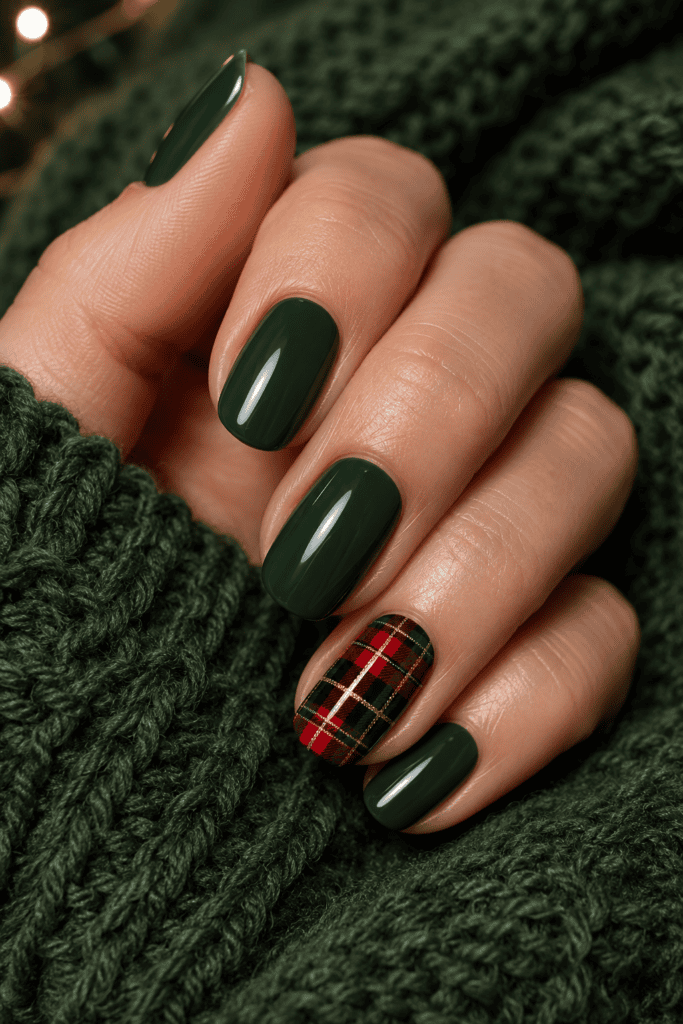
Who doesn’t love cozy, lumberjack-chic plaid during the freezing winter months? Creating a full set of hand-painted plaid nails can make you look like you tried way too hard, so I highly recommend keeping this as a festive accent nail design.
Paint four of your fingers a solid, creamy forest green. On your ring finger, create a traditional tartan plaid pattern using red, black, and gold line-work. Wrap a tiny painted ribbon around the entire nail to pull the whole gift-wrapped concept together beautifully.
Step-by-Step Plaid Tutorial:
- Paint your accent nail with two coats of an opaque cherry red polish.
- Draw thick, translucent black horizontal and vertical stripes using a jelly polish.
- Add ultra-thin lines of glittering gold gel right down the center of the black stripes.
- Apply your top coat and enjoy your cozy, wearable holiday flannel vibes.
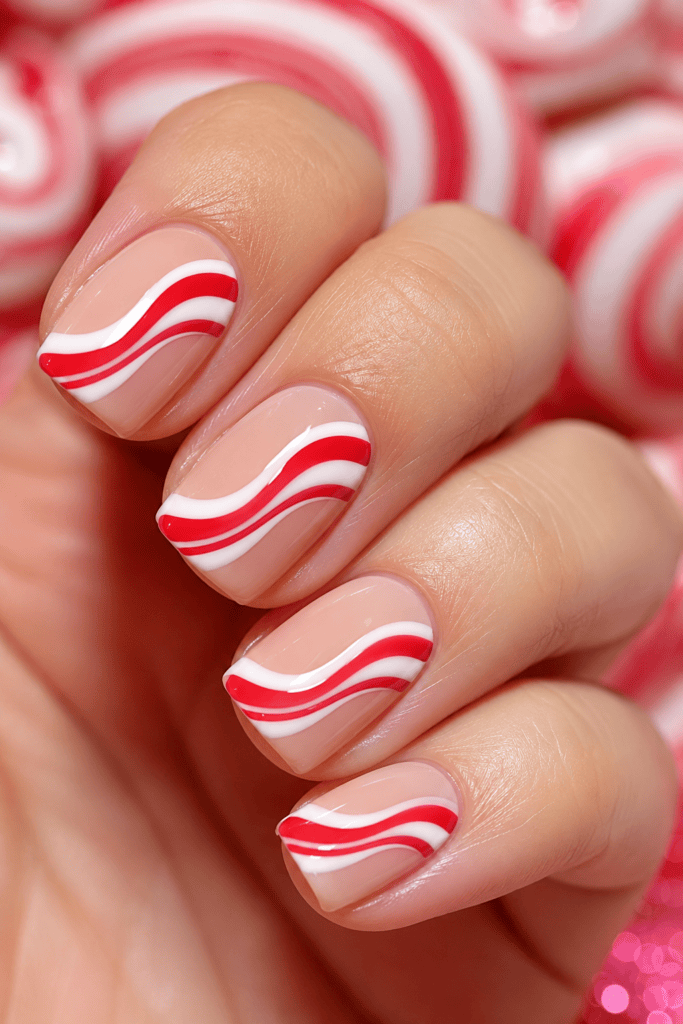
9. Candy Cane Striped Ribbon Candy

If you have a major sweet tooth and love playful fashion, this look is practically calling your name. Instead of a stiff, structured box bow, this design features fluid, swirling candy cane striped ribbons that dance across a clean nude base coat.
You alternate thin lines of opaque white and vibrant crimson to mimic the look of old-school ribbon candy. It’s whimsical, fun, and looks amazing on shorter, square-shaped nails. Plus, it’s incredibly forgiving if your lines aren’t 100% straight, since ribbon candy naturally folds and bends.
10. Holy Berry and Vine Gift Garland
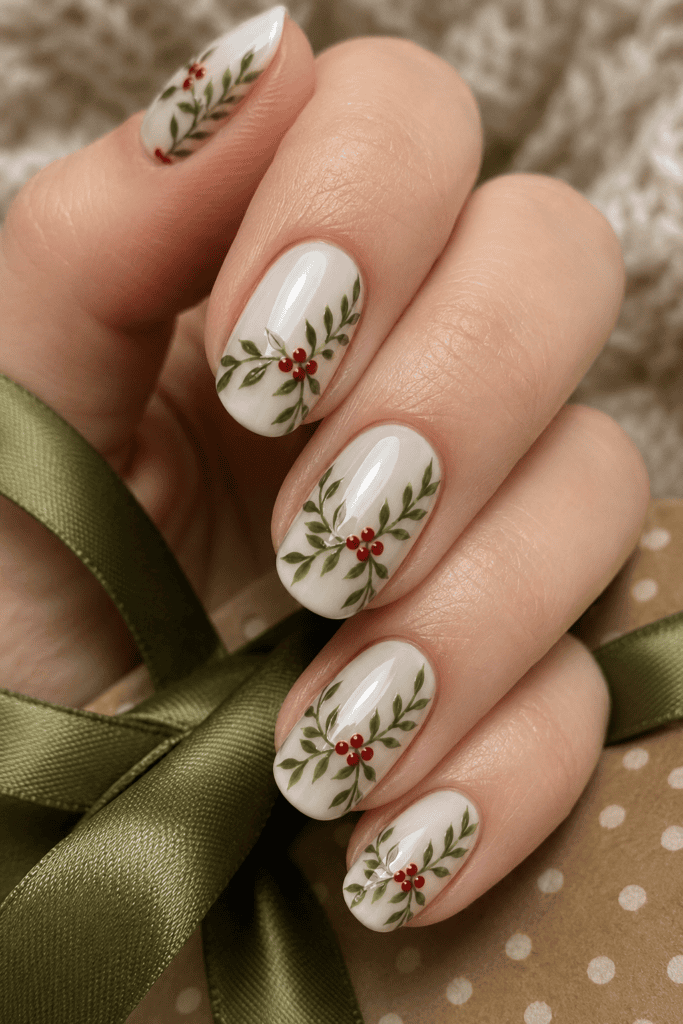
Want something that looks like an artisan, hand-painted watercolor masterpiece? This design skips the traditional plastic-looking ribbons and opts for a natural, botanical gift-wrap approach.
You use a milky, semi-opaque base color to create a soft, clean canvas. Then, using a fine detail brush, you paint delicate olive-green vines and tiny bright red holly berry clusters arranged like a ribbon tied around a package. It’s incredibly elegant, artistic, and works beautifully for the entire winter season, not just the week of the holidays. 🙂
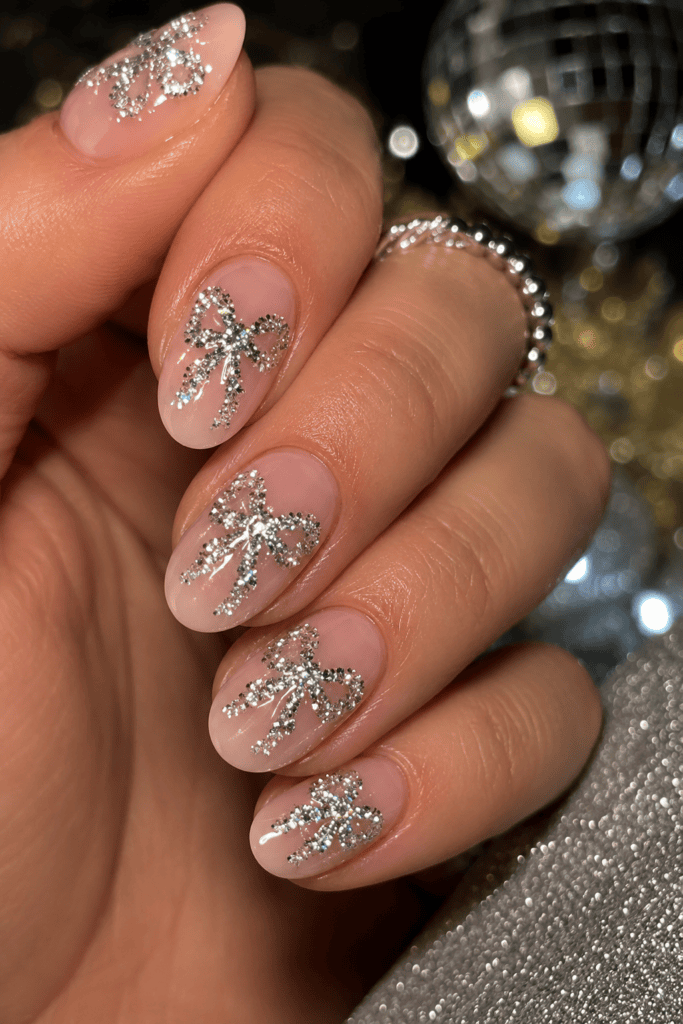
11. The Ultimate Glitter Bomb Bow
Let’s close things out with a look for the true maximalists out there. If you believe that there is no such thing as too much sparkle during December, you need to try the chunky glitter placement manicure.
You start with a completely clear or sheer pink base coat. Then, you manually place individual pieces of reflective silver glitter to form the shape of a massive, oversized gift bow. It takes a little bit of patience, but the way it blinds everyone in the room when the light hits your hands makes the effort totally worth it.
Wear-Time and Maintenance Tips:
- Always cap your free edges with top coat to prevent the glitter from lifting.
- Apply a fresh layer of top coat every three days to maintain that glass-like shine.
- Use a cuticle oil daily to keep the skin around your sparkly masterpiece looking flawless.
Conclusion
At the end of the day, holiday fashion should be fun, exciting, and just a little bit extra. Holiday-inspired festive nails are the absolute easiest way to accessorize your winter wardrobe without spending a fortune on new clothes.
Whether you opt for the clean, minimalist vibe of the kraft paper design or the show-stopping drama of the emerald velvet tips, you really can’t go wrong. Just promise me you won’t rush the drying process like I did last year—nobody wants accidental fabric textures imprinted on their gorgeous holiday bows!