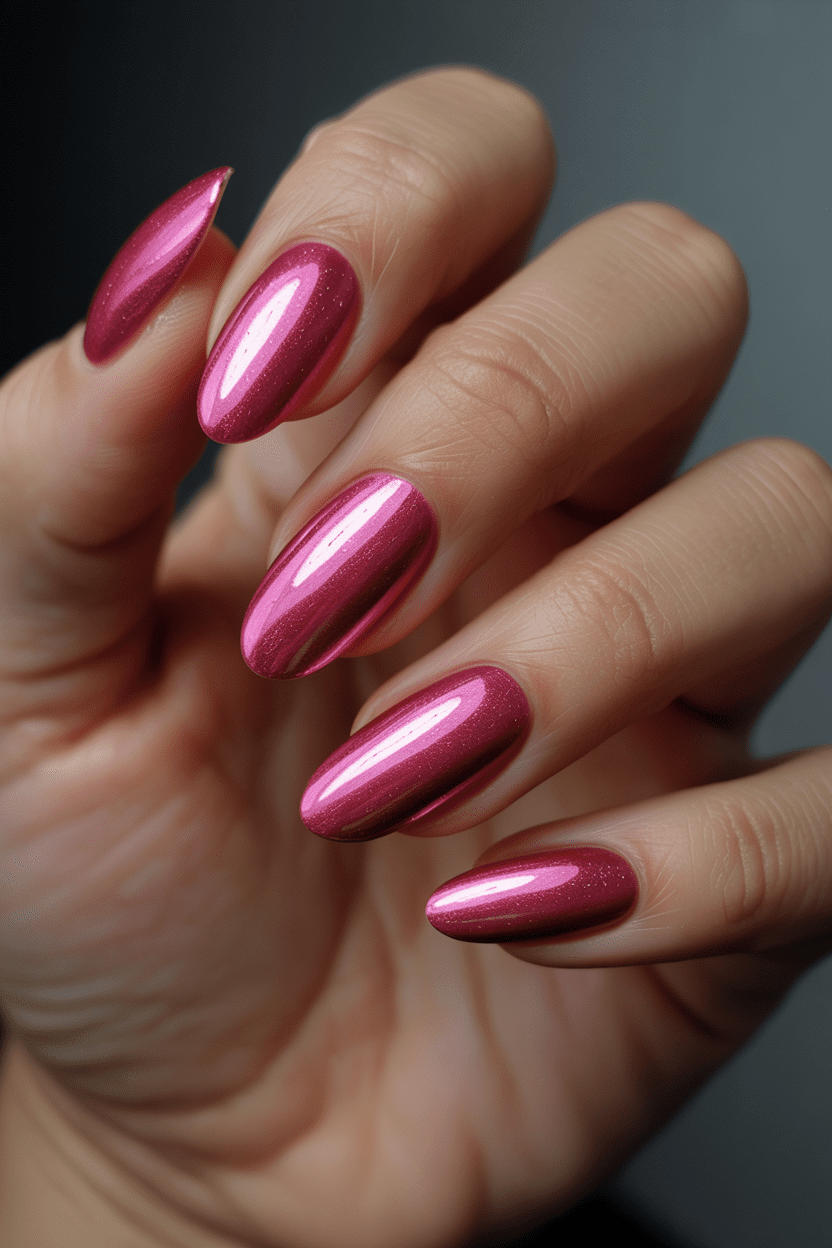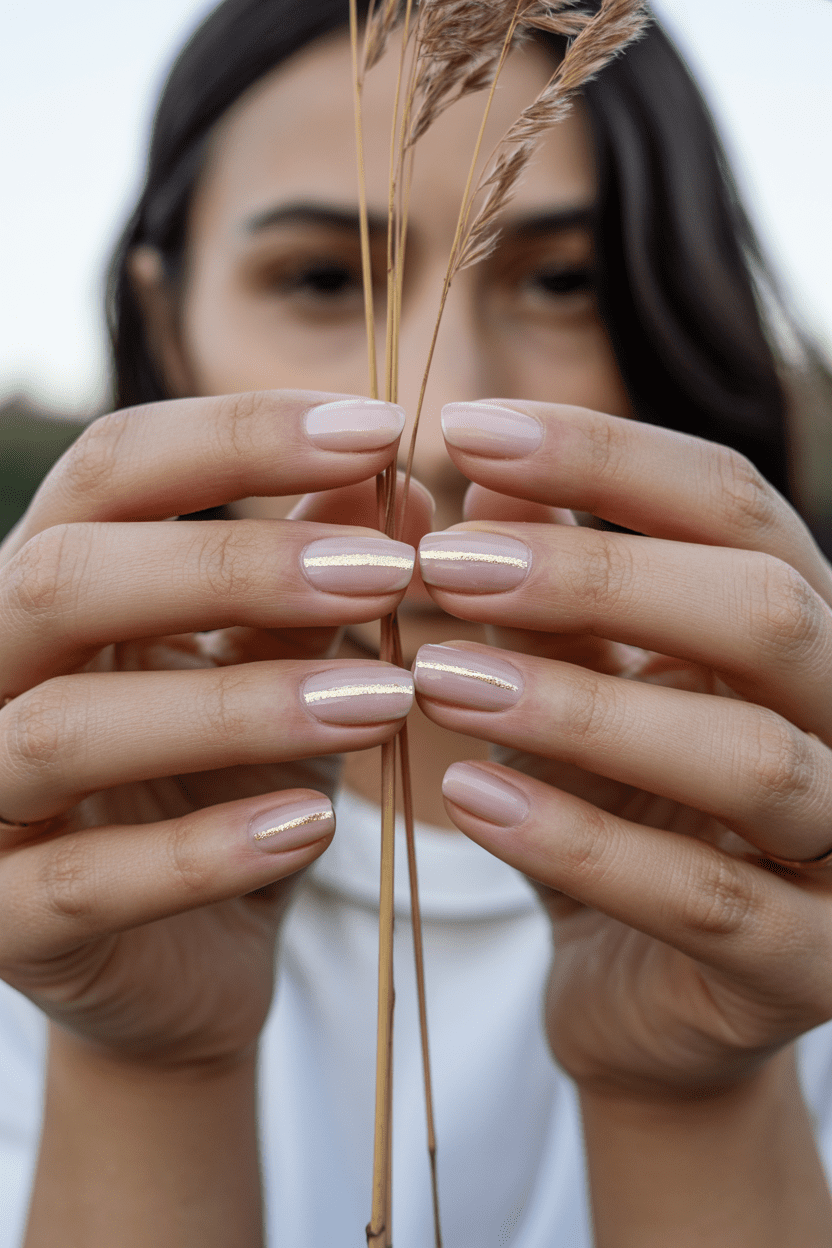
Grab your coffee and look at your fingernails right now. Are they wearing the exact same symmetrical French tip or basic nude coat you’ve been rocking since last winter? TBH, my own nails were stuck in a serious rut until a few weeks ago. I love symmetry in my kitchen tile, but on my hands? It started feeling less like a classic choice and more like a uniform.
That is exactly why I fell down the rabbit hole of asymmetrical nail art trends. Moving the focus away from the center of the nail completely changes how your hands look. It feels modern, a little bit edgy, and beautifully intentional. Best of all, off-center designs are incredibly forgiving if you are painting them yourself at home.
If you are ready to ditch the predictable and try something fresh, you are in the right place. Let’s look at eleven stunning asymmetrical nail art ideas that will make you completely forget about standard manicures.
The Evolution of the Off-Center Manicure
Why are we suddenly obsessing over mismatched placements and diagonal lines? For years, nail art focused on perfect symmetry. We all wanted the stamping plate to align perfectly or the sticker to sit dead center. But current beauty trends lean heavily into individual expression and negative space.
Asymmetrical manicures use the natural canvas of your nail in a smarter way. By leaving portions of the nail bare or balancing a heavy design on one side with a minimalist stroke on the other, you create visual movement. It makes your fingers look longer and draws the eye across the hand rather than down to a single point.
1. The Sideways French Tip
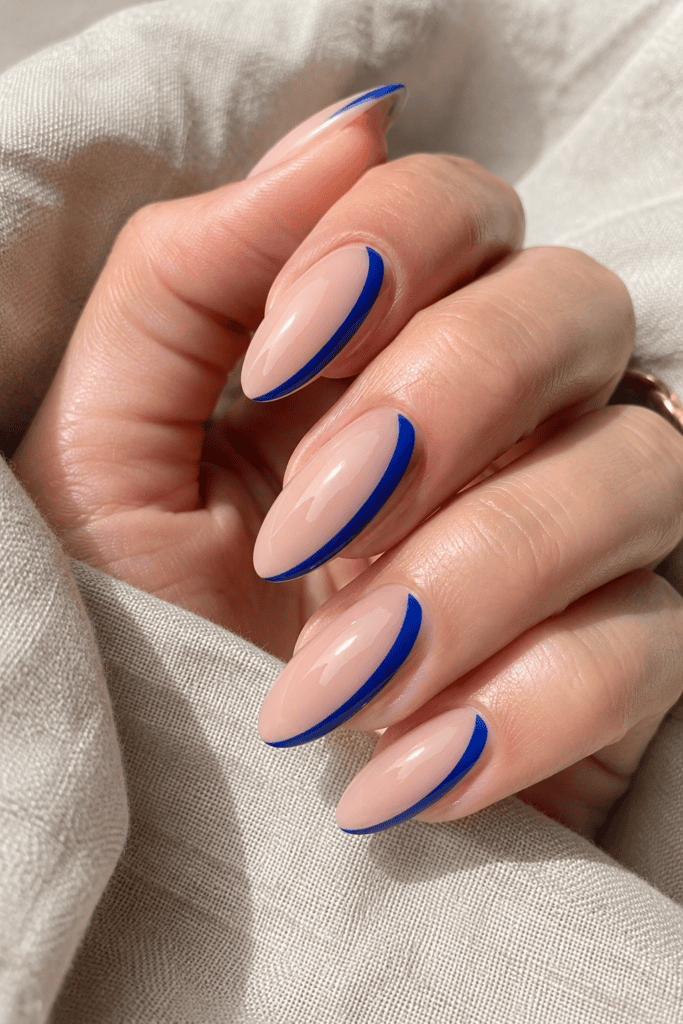
Forget everything you know about the traditional white crescent moon sitting perfectly at the top of your nail bed. The sideways French manicure takes that exact same concept but rotates it ninety degrees. You paint a clean, crisp line running down just one side of your nail wall, curving slightly toward the tip.
I tried this look last month using a vibrant cobalt blue instead of traditional white. The result looked incredibly chic and structural. It gives you that clean, minimal aesthetic but with a clear design-forward twist.
How to Style the Sideways French
- Best Nail Shape: Almond or long square.
- Color Combinations: Pale pink base with an emerald green edge, or a matte nude base with a glossy black stripe.
- Pro Tip: Use a long striping brush to pull the polish down in one fluid motion to avoid a jagged edge.
2. Abstract Negative Space Blobs

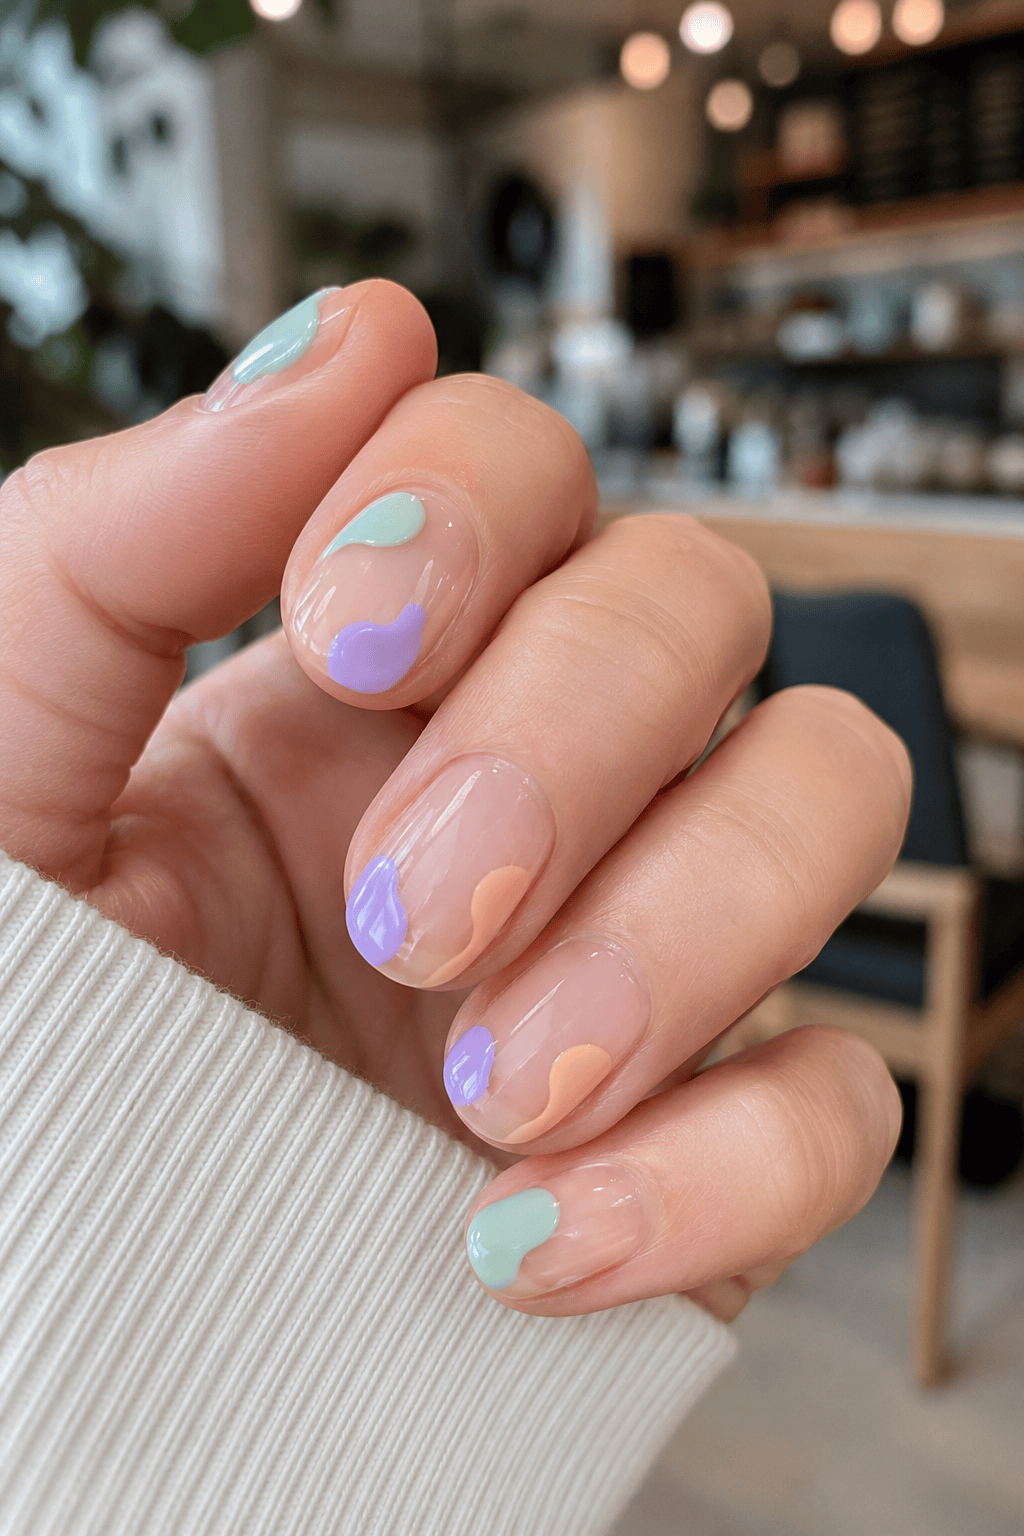
If you lack the steady hand required for precise geometric lines, this trend will be your absolute savior. Abstract negative space nail art relies entirely on organic, fluid shapes that sit wherever they want on the nail. Think amoeba-like blobs, melting pools of color, and soft cloud shapes placed strictly off-center.
You leave about sixty percent of the natural nail exposed, protecting it with a high-shine base coat. Then, you place a colorful, irregular shape on the top left corner of one nail, and maybe the bottom right of the next. It feels less like a traditional manicure and more like a mini modern art gallery on your fingertips.
Why This Design is Foolproof
- Zero symmetry required: If one blob is bigger than the other, it just looks intentional.
- Fast drying time: Because you only paint small sections of the nail, your hands dry in half the time.
- Low maintenance growth: Since the base of the nail is mostly clear, you won’t notice your cuticles growing out for weeks.
3. The Diagonal Half-Dip
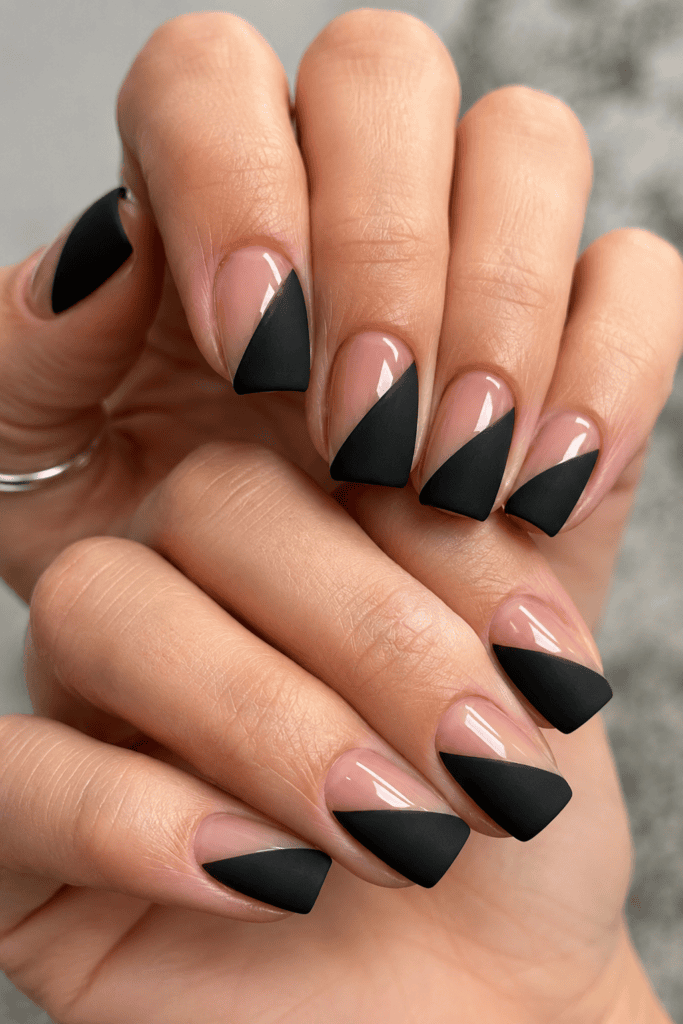
Who says you have to paint the entire nail surface to look polished? The diagonal half-dip manicure slices the nail completely in half from one upper corner down to the opposite lower side. You coat one half in a bold, opaque color and leave the other half completely bare or covered in a sheer shimmer.
Ever tried tape manicures and ended up peeling off half your base coat? I certainly have, and it’s infuriating. For this look, skip the tape entirely. A medium-sized flat gel brush allows you to map out that diagonal line with total control.
4. Single-Side Pearl and Stud Accents
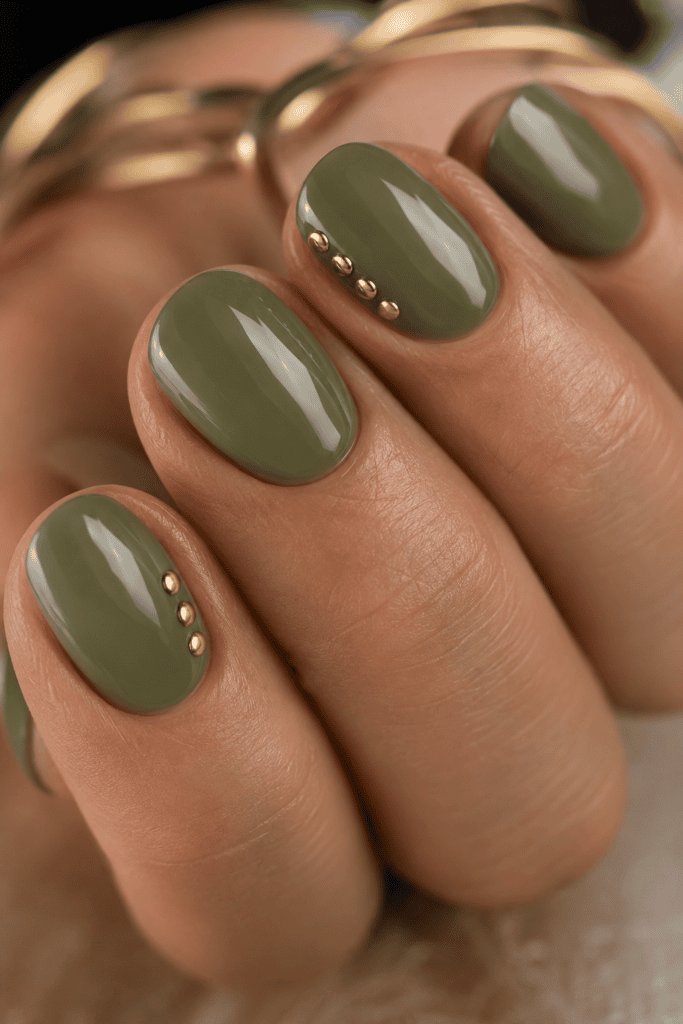
Maybe you prefer to keep your base polish simple but want to experiment with 3D elements. Placing pearls, rhinestones, or metallic studs dead center in the middle of the nail can look a bit costume-heavy. Instead, try clustering asymmetrical nail embellishments along just one vertical edge of your ring or index finger.
I love using tiny, flat-backed gold studs for this look. Paint your nails a gorgeous, creamy olive green or rich espresso brown. While the topcoat is still tacky, press three tiny studs in a neat vertical line right against the left side of your nail wall. It looks like delicate jewelry for your hands without feeling over-the-top.
5. Deconstructed Checked Patterns
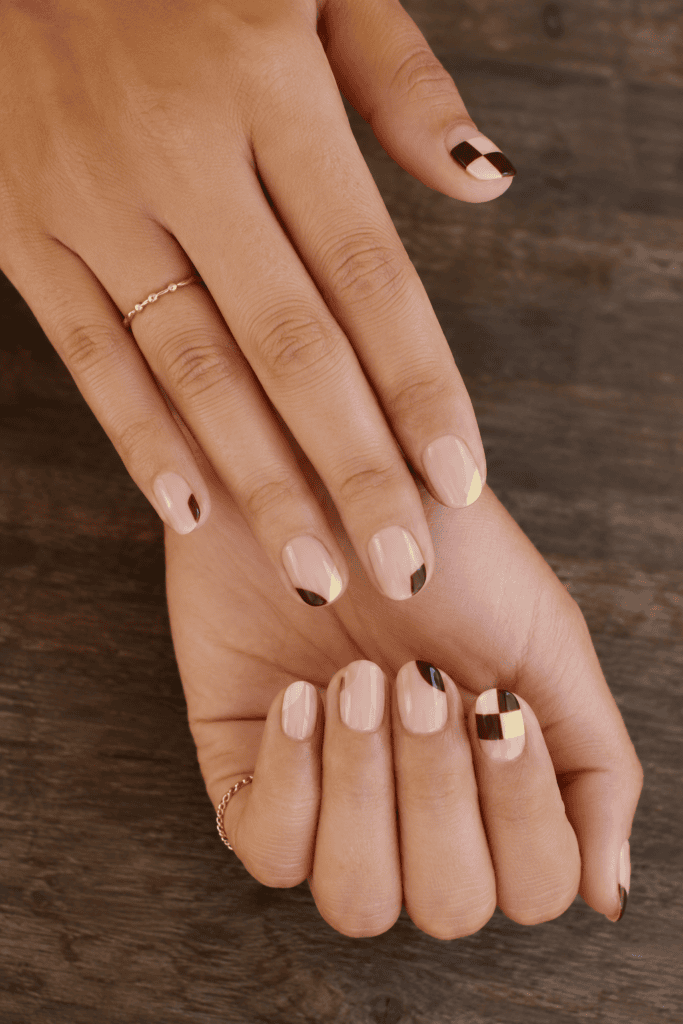
Checkerboard nails have been everywhere lately, but painting twenty perfect squares on a tiny nail bed is a recipe for a headache. The deconstructed checkerboard trend solves this by only showing a fraction of the pattern. You place a small two-by-two grid tucked away into the corner of your nail tip.
This approach gives a nod to the retro trend without making your hands look cluttered. It works beautifully when you alternate the corner placement from nail to nail. Put the pattern on the bottom left of your thumb, the top right of your index finger, and so on.
Color Palettes to Try
- Classic Retro: Creamy butter yellow and chocolate brown.
- High Contrast: Lilac and deep plum.
- Monochromatic: Matte gray and glossy charcoal.
6. The Minimalist Off-Center Dot
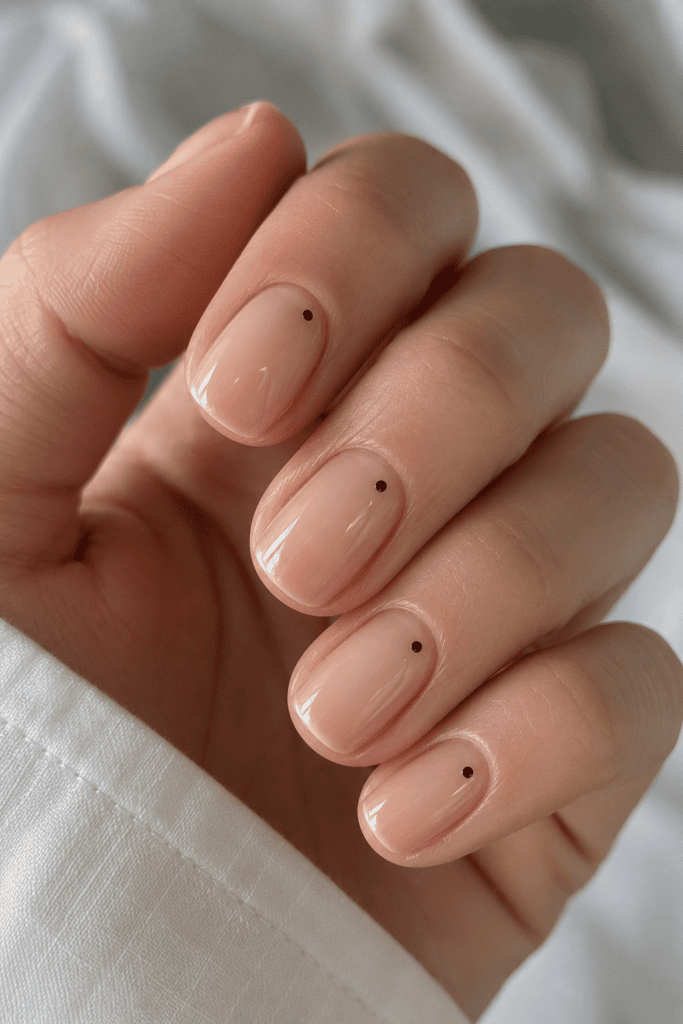
Can a single dot of polish count as nail art? Absolutely, provided you put it in the wrong place on purpose. The minimalist single-dot manicure usually features a tiny circle right at the base of the nail near the cuticle. To make it asymmetrical, move that dot all the way over to the far right side of the nail bed.
IMO, this is the ultimate “clean girl” nail art look with a subtle wink. It looks best on a completely sheer, healthy-looking nail base. You can use the end of a bobby pin dipped in black, red, or metallic silver polish to stamp the perfect tiny circle.
7. Sweeping Abstract Waves
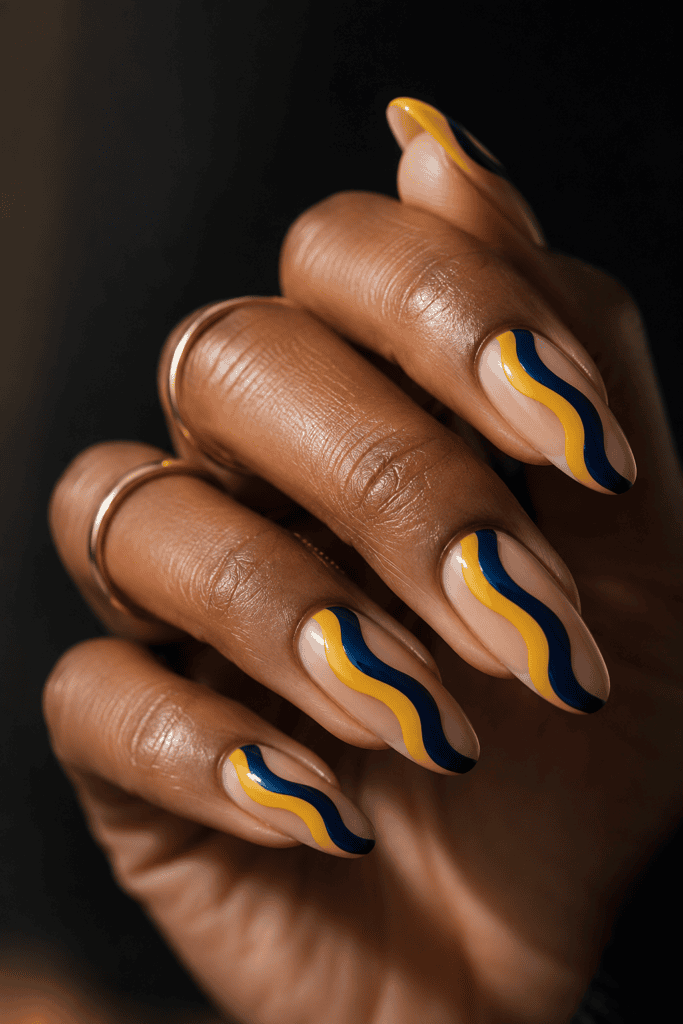
Waves and swirls have dominated social media feeds for a long time, but the newest iteration skips the full-coverage look. Sweeping asymmetrical waves utilize two or three complementary colors that curve gently down one side of the nail, leaving the opposite side completely untouched.
This specific design creates a beautiful optical illusion. The curving lines mimic the natural anatomy of your fingers, which makes short nail beds appear significantly longer and more elegant. It’s fluid, graceful, and looks like you spent hours at a high-end salon.
8. Misaligned Metallic Foil Flakes
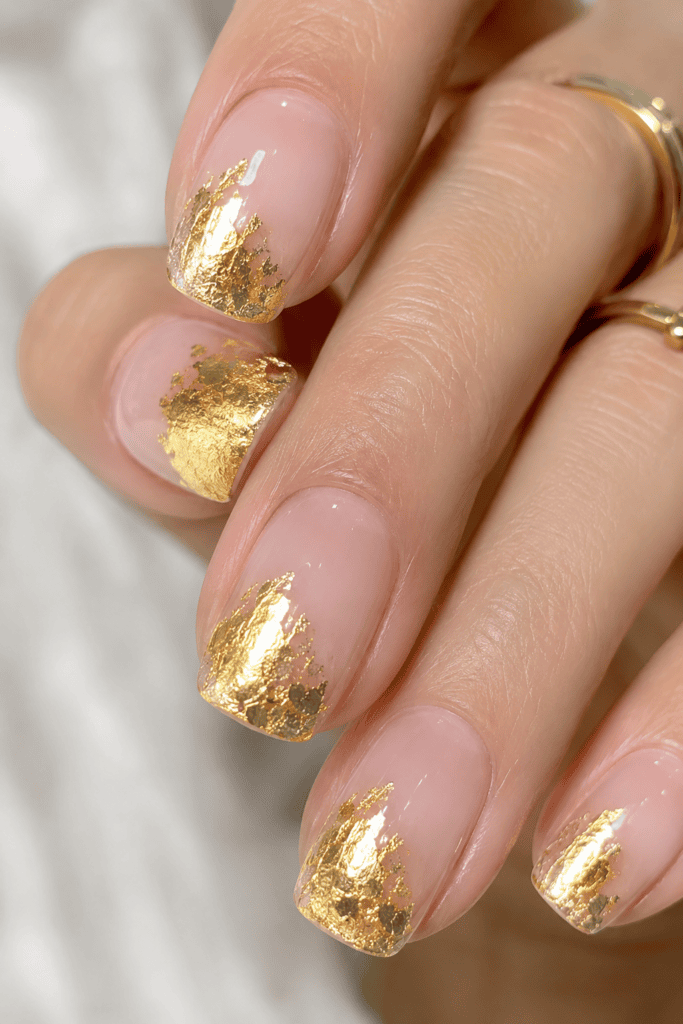
Working with metallic leaf can get messy quickly if you don’t have a plan. Instead of scattering gold or silver foil across the entire surface, corral your asymmetrical metallic accents onto a specific quadrant of each nail.
Drop a few irregular flakes of gold leaf into a wet clear coat strictly along the tips, but angle the placement downward on a slant. The jagged, organic edges of the foil contrast beautifully against clean, bare nail beds. It offers the perfect balance of luxury and effortless messiness.
9. The Corner Half-Moon
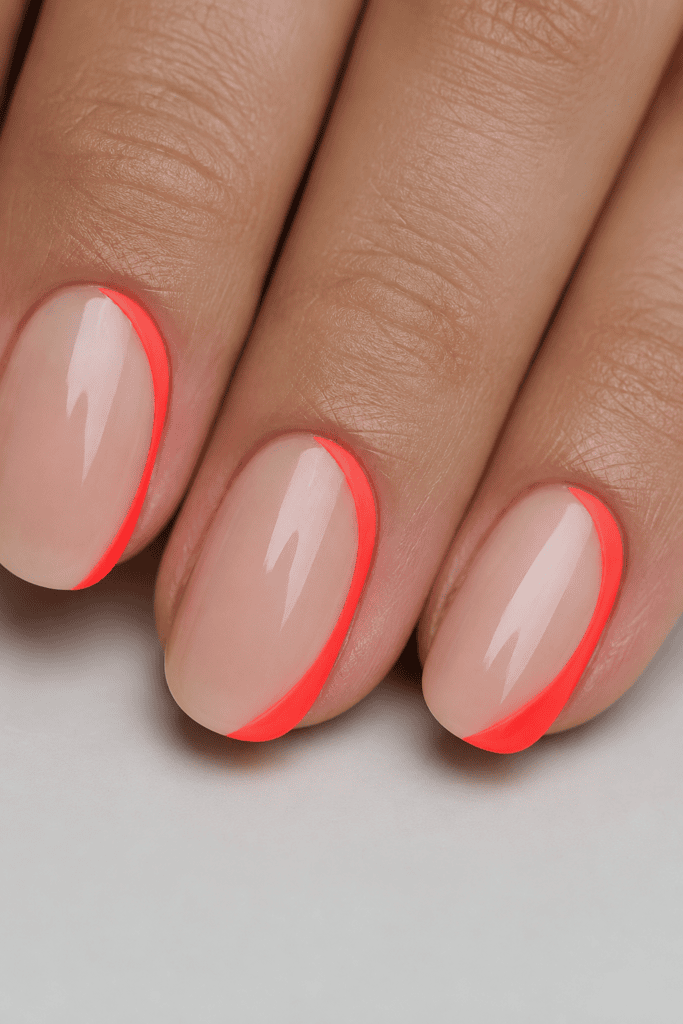
The traditional half-moon manicure highlights the lunula—that little crescent shape at the base of your cuticle. But we are breaking the rules today. The corner half-moon trend shifts that crescent shape completely to the side, creating a curved wedge of color in the bottom corner of the nail.
This look works best when you use a punchy, unexpected color against a naked nail. Think bright neon coral, electric lime, or a rich navy. It looks sharp, graphic, and incredibly deliberate.
Step-by-Step Application Guide
- Apply a high-quality strengthening base coat to clean, dry nails.
- Dip a fine detail brush into your chosen color and draw a smooth, curving arc from the center of your cuticle line down to the side nail wall.
- Fill in the small corner shape with two thin coats of polish.
- Seal the entire nail with a plumping glossy topcoat to level out the ridge between the polish and the bare nail.
10. Split Vertical Color Blocking
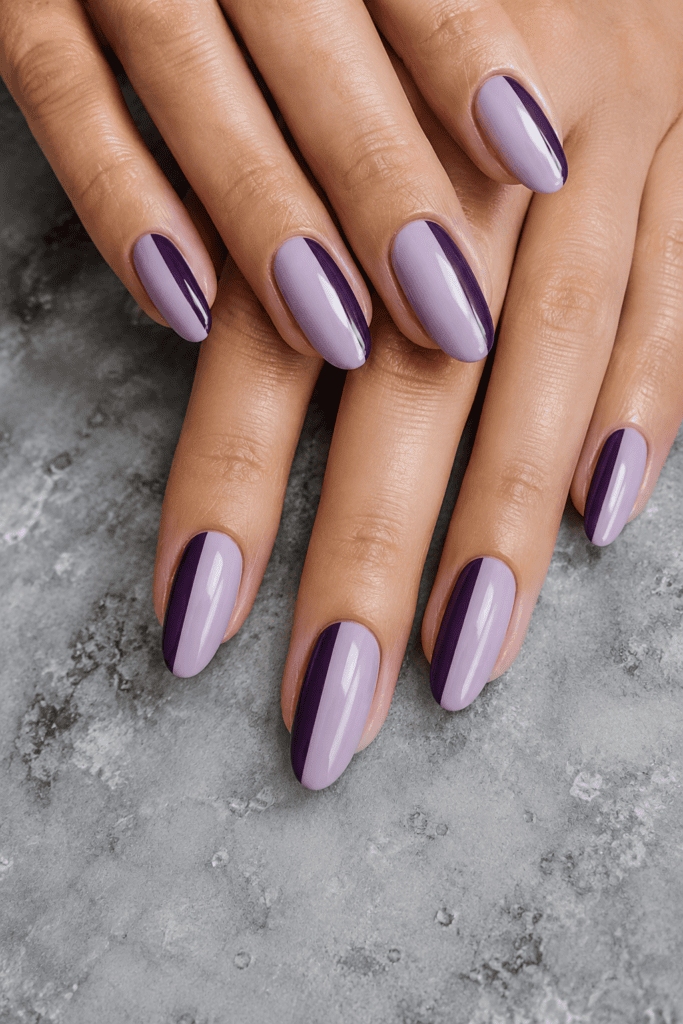
If you absolutely cannot choose between two different polish colors, don’t choose. The split vertical manicure allows you to use both. Instead of splitting the nail down the exact center, shift the dividing line about two-thirds of the way to one side.
This creates one wide block of color and one narrow strip of color on the exact same nail. I tried this combo using a pale lavender for the wide section and a deep eggplant for the skinny slice. The asymmetrical division looks infinitely cooler than a standard 50/50 split, which can end up looking a bit too much like a bowling bowling shirt.
11. The Graphic Corner Slash
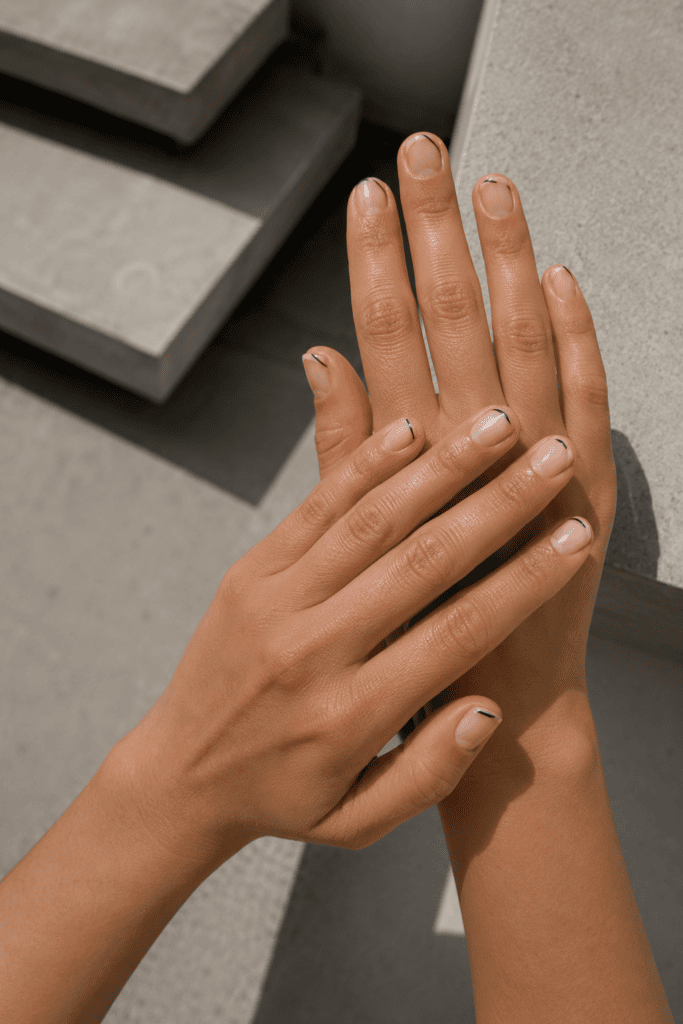
For the ultimate minimalist who still wants an edge, the graphic corner slash is your answer. This look consists of one single, razor-thin line that cuts across the very top corner of your nail tip on an angle.
It requires a highly pigmented polish—like a true jet black or a stark, bright white—so the single line stands out clearly. It is subtle, incredibly clean, and takes less than five minutes to execute across both hands. Who says great style has to take all afternoon?
Essential Tools for DIY Asymmetrical Nail Art
You do not need an expensive setup to recreate these trends at home. In fact, a few cheap, targeted tools will give you salon-quality precision right at your kitchen table.
- Long Striping Brushes: These feature long, thin bristles that hold onto polish and help you pull perfectly straight lines without your hand shaking.
- Dotting Tools: A double-ended tool with different sized metal balls lets you create perfect circles and abstract shapes instantly.
- Clean-Up Brushes: A small, stiff angled brush dipped in pure acetone is your absolute best friend. It erases any tiny wobbles or overruns in seconds.
How to Keep Your Negative Space Looking Pristine
Since most asymmetrical nail art relies heavily on exposing your natural nail, the condition of your bare nail bed is incredibly important. You cannot hide staining or roughness under layers of colored polish.
First, always use a stain-preventing base coat to protect your nails from yellowing, especially if you love wearing dark colors. Second, keep your cuticles hydrated. An asymmetrical design draws a lot of attention to specific edges of your nail, which means dry skin or ragged cuticles will stand out immediately. Keep a bottle of high-quality cuticle oil at your desk and apply it daily.